|
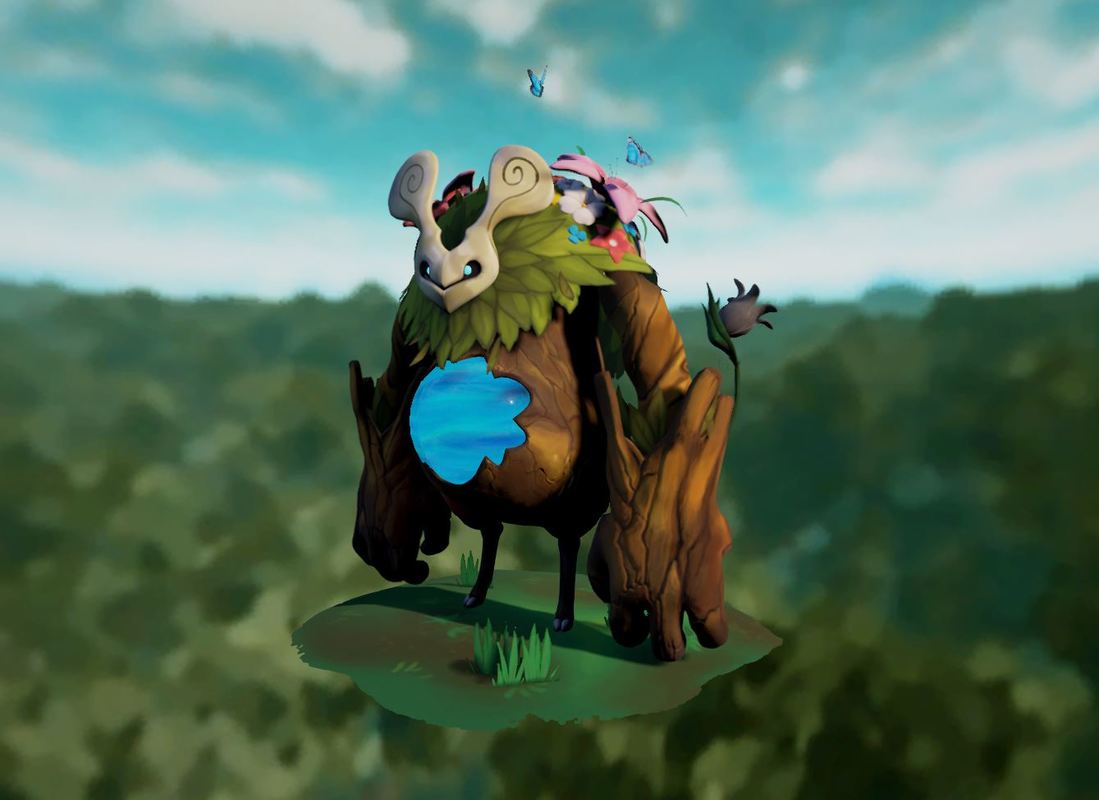
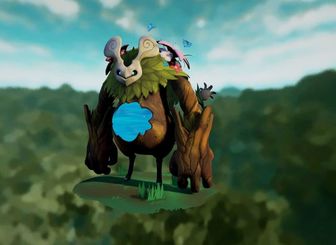
And here we are, with everything more or less finished I am now rendering out scenes to put into my Reel and I'm very happy with how this guy turned out. Especially how much better I was able to make it just by tweaking lighting and like I mentioned in my last post, the leaves on his neck especially. 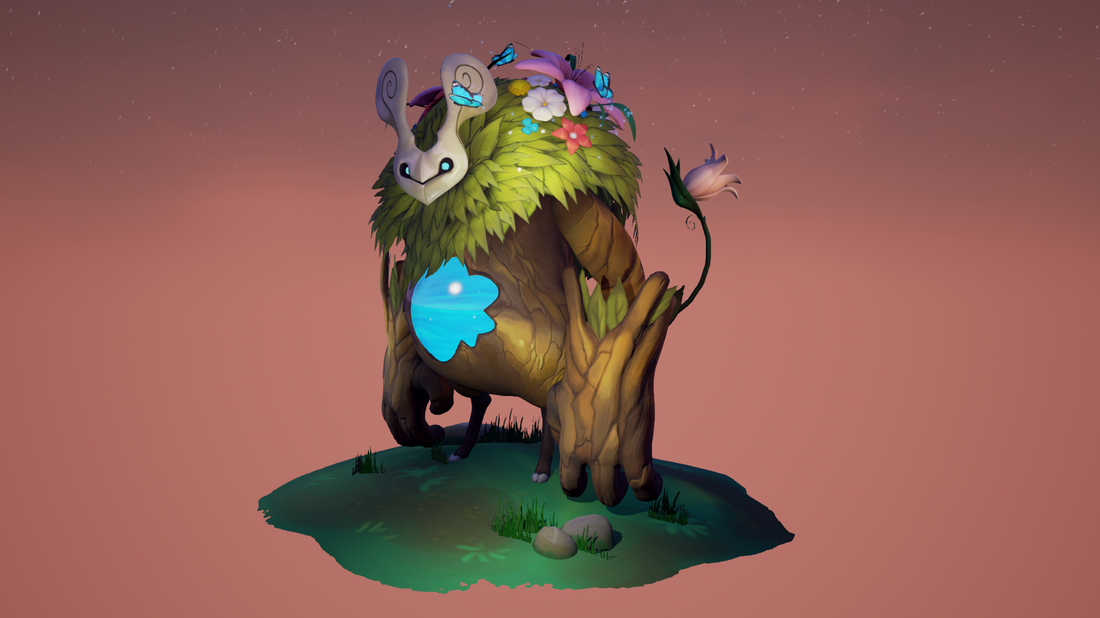 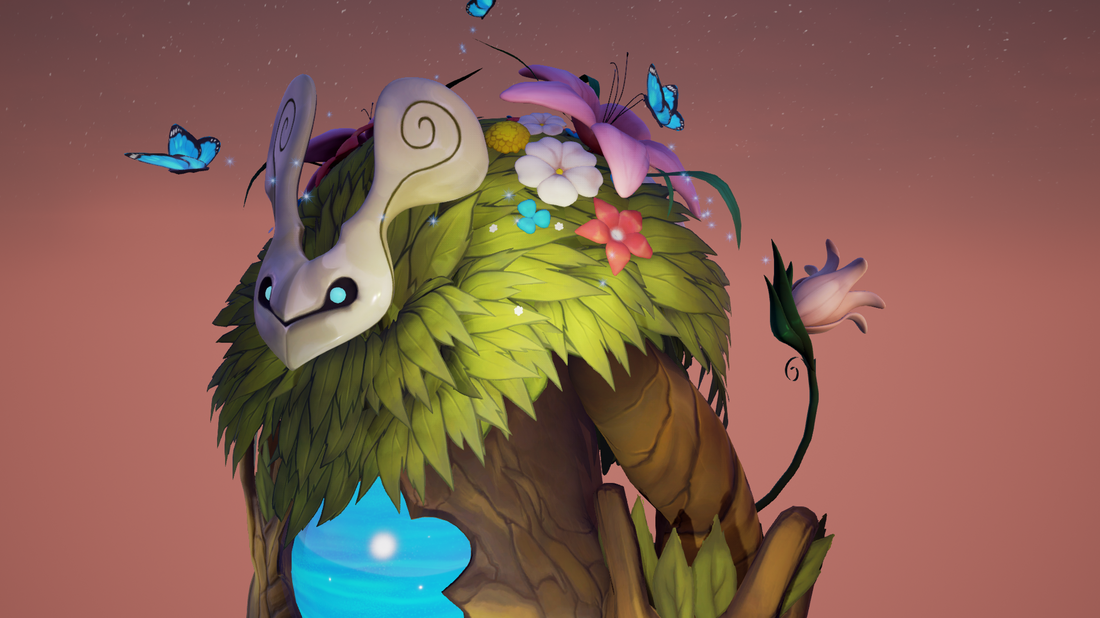
0 Comments
With a huge edit to the mane and some tweaks I think it looks a lot better now than before. I added more to the animation as well and I think it really brings him to life. I'm still struggling with lighting but I think that's about as close as I can get as of right now. I will see on Wednesday if I can also get the particle trail attached to the butterflies to make it look a little more magical over all.
These are my proposed final screenshots that I handed in. I'm pretty happy with it however there are a couple things I need to change/redo. As you can tell the tail isn't textured and I wasn't able to find out why because it is in Maya and in Unreal but when I apply the texture it didn't work. I also need to redo the lighting. In tried to get the proper lighting with direction light but was told that I would only need point lights so I will try that instead. I'm also not too happy with the leaves on his neck. It seems too flat and like there are too little. So I'm going to make multiple curved plains all around the neck so that it looks fuller. There are also some normals that need to be fixed, ie; the mask and when I redo the leaves.
Unfortunately, to fix some of the things I need to re-rig the creature which will take some time but hopefully with these fixes it will look a lot more like the concept and a lot better in general
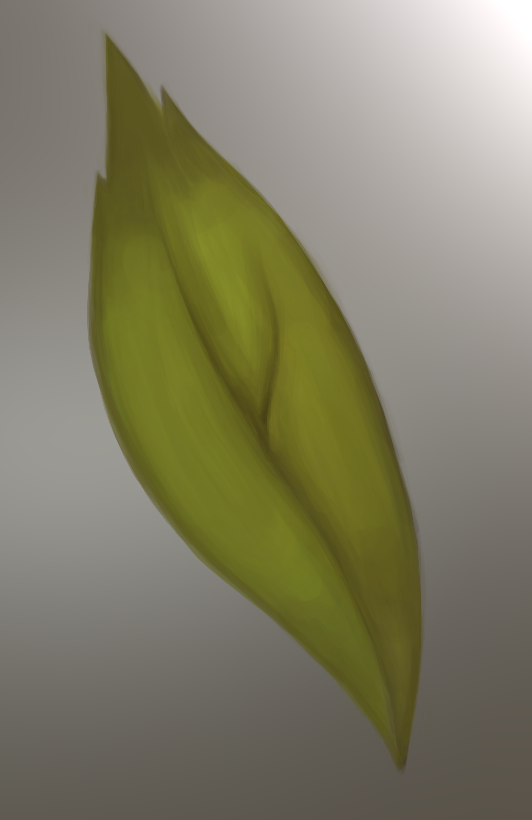
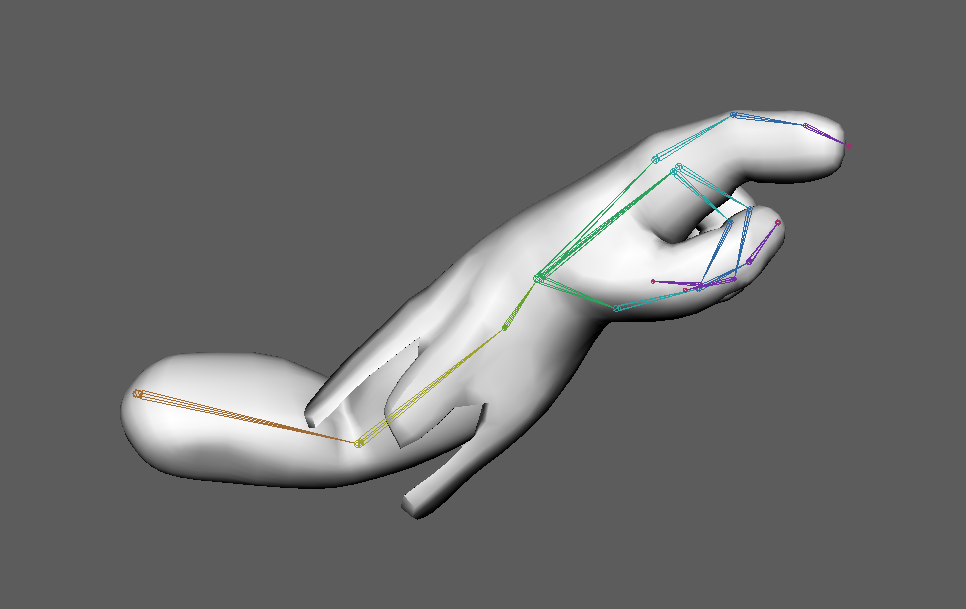
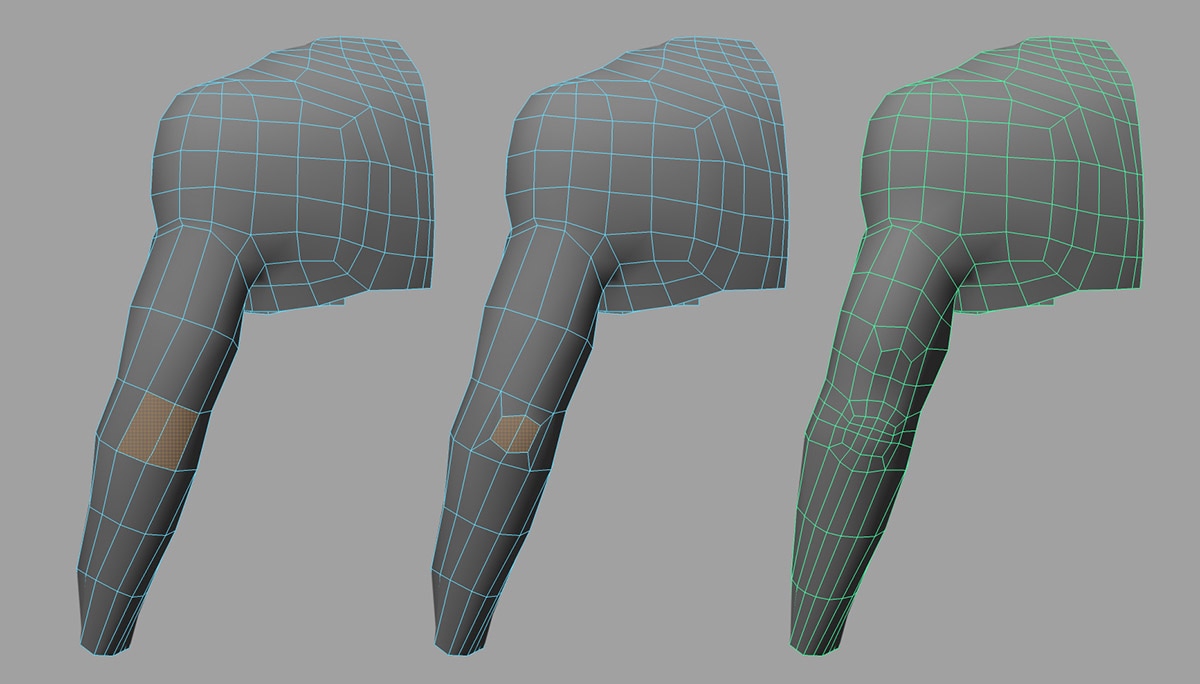
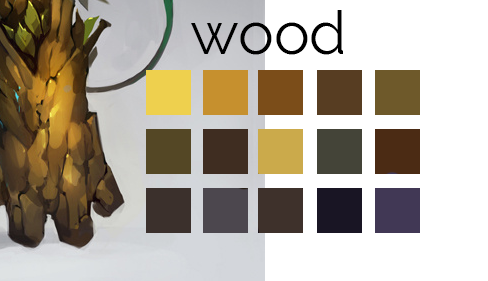
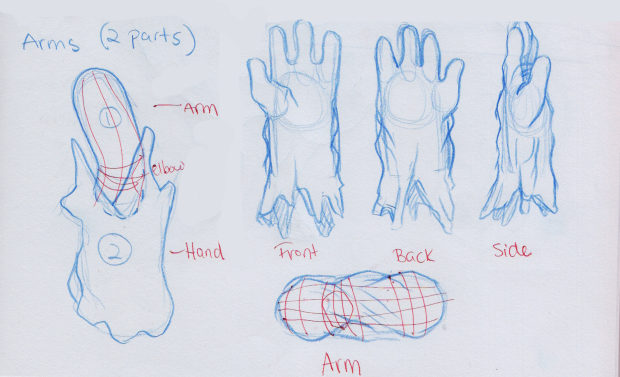
Over the past few weeks I have been continuing to texture my models in 3DCoat, I've finished the arm and hand and they are now in unreal, but I have began to fall behind a bit when it comes to the leaves and mane. I'm doing just a couple of different types of leaves for in between the arm and hand as well as some leaves that will pop out of the mane to give it some silhouette. The mane I was doing on and off over the small break we had but since it was taking so long I have put it on more of the back burner while I do the flowers, and his tail just to make it look more complete. The flowers won't take too long and are already UV'd so it's just bringing them into 3DCoat. 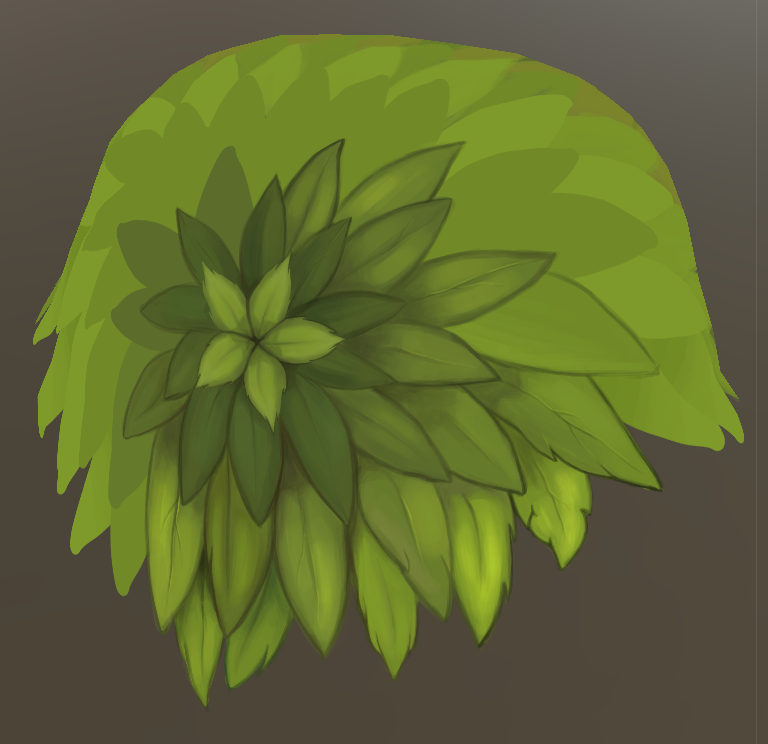 My lighting in Unreal I have been struggling with but I did manage to get a Skybox that I'm kind of okay with. I also lightened the colour of the body texture since it was a little too dark to match his arm. More updates will come within the next week however my second project is due on Tuesday so this project will have to be set aside for a little while. 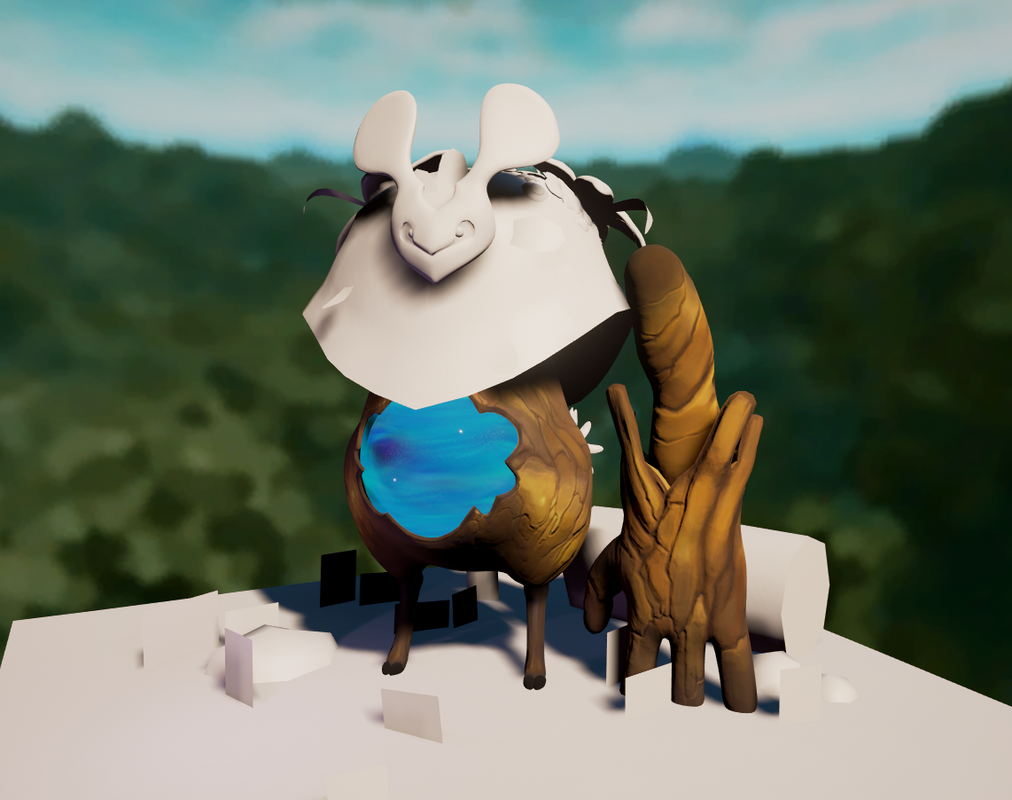 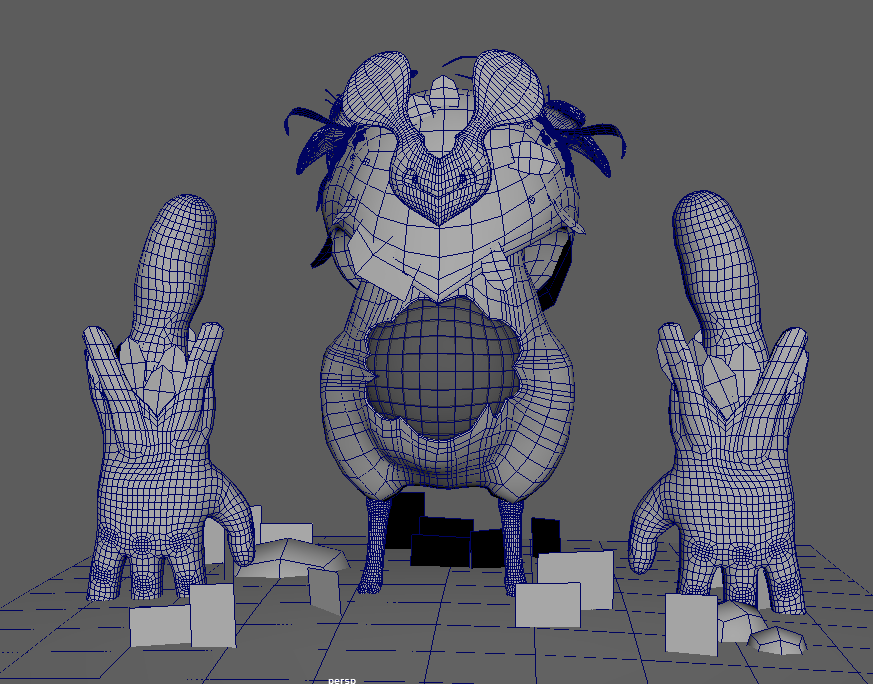 The arms took me a while to get the right shape in order for it to look similar to the original concept but also work with rigging and for the arm to be able to move without warped topology. I retopologized the hands and arms after that again for the shapes to move more fluently without pinching. Rigged examples of how I want the hand to eventually be posed so the butterfly would land on its hand in the final reel. There has been a LOT of test rigs to see what works and what doesn't work, as well as what needs to be fixed or changed. 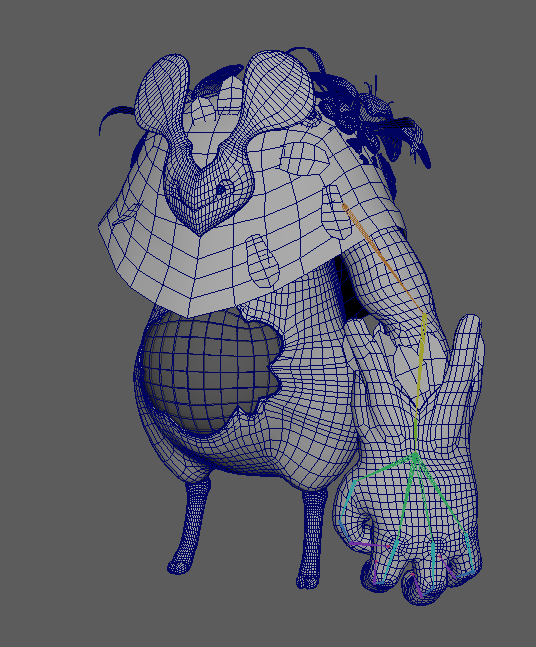 I updated the body model a little bit to make the topology look a little better and make it more high poly while trying to keep the topology more even. I also changed and updated the mane, making it a plane and positioned the rigged hand to make the mane cover the arm properly. All this is now UV unwrapped and ready to be textured.
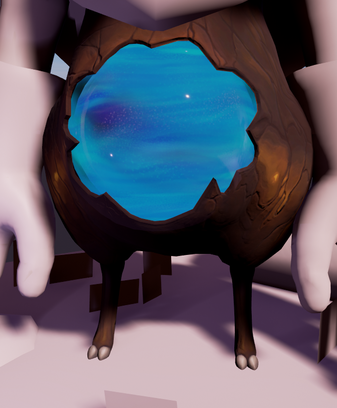
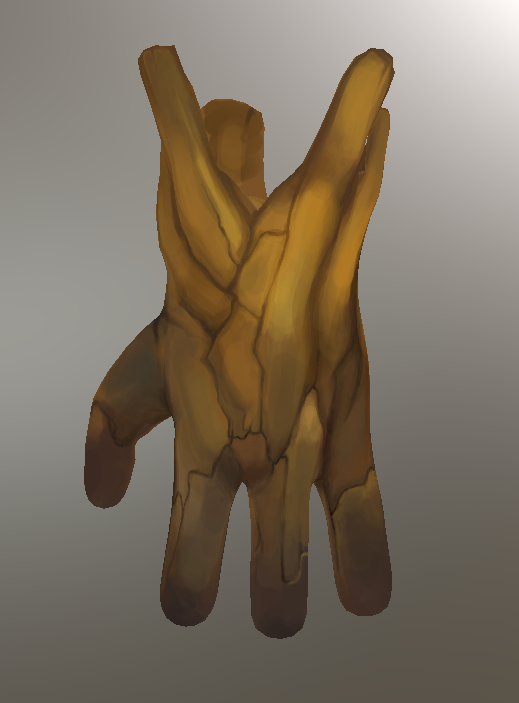
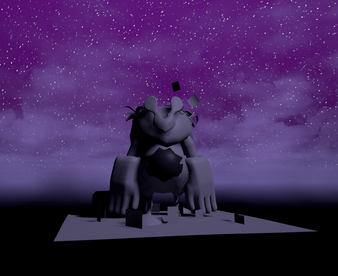
The picture on the left is the textured models in Unreal Engine. It took a long time but I was able to get the blueprint to work to make the multiple orbs rotate within each other, I will probably still change a bit. I plan on adding one more sphere that is smaller in the top right to give a fake shine since I have not been able to make the glass look as shiny as the original concept. The hand is a WIP, I'm working on now. I will probably make the body texture lighter so it matches the hand a little more but other than that it is just a lot of texturing. 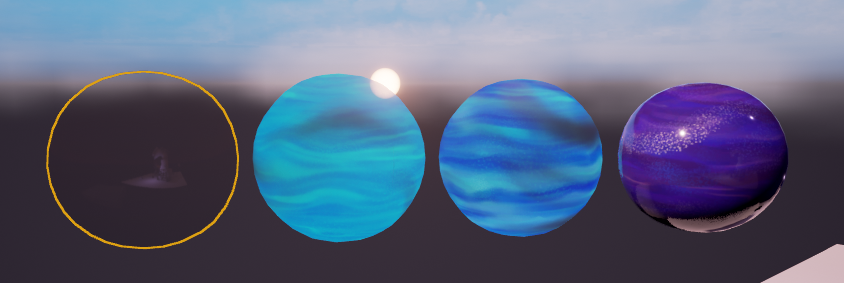 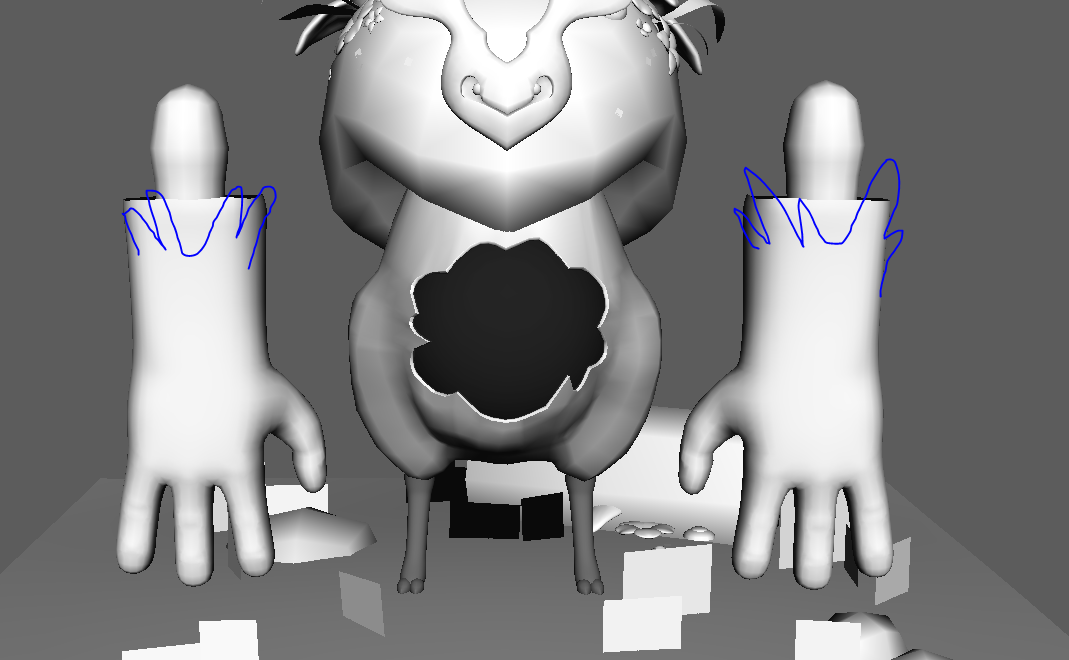 Now that I have gotten the hands modeled, I will then be shaping the extrusions of bark coming from the bottom of the hands. 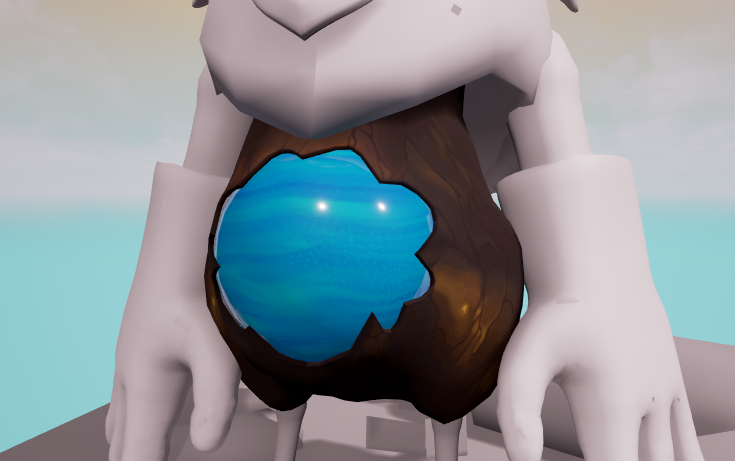 Watched a couple of videos about lighting and skyboxes in unreal yesterday and so I was able to figure out how to make my scene darker, I made the sky a little more purple and much darker. I also made my daylight lighting too. I have yet to do any post processing yet but the lighting and colours were where I was aiming for. I also have been doing more painting on the body, sphere and face.
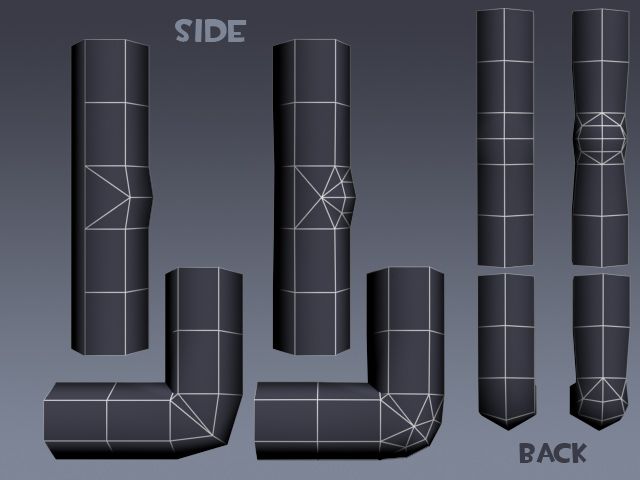
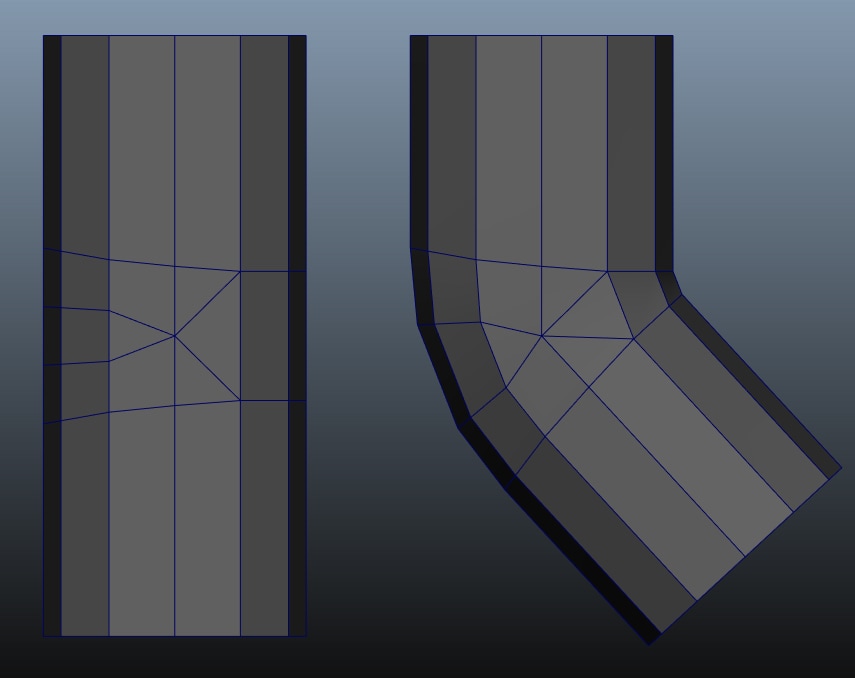
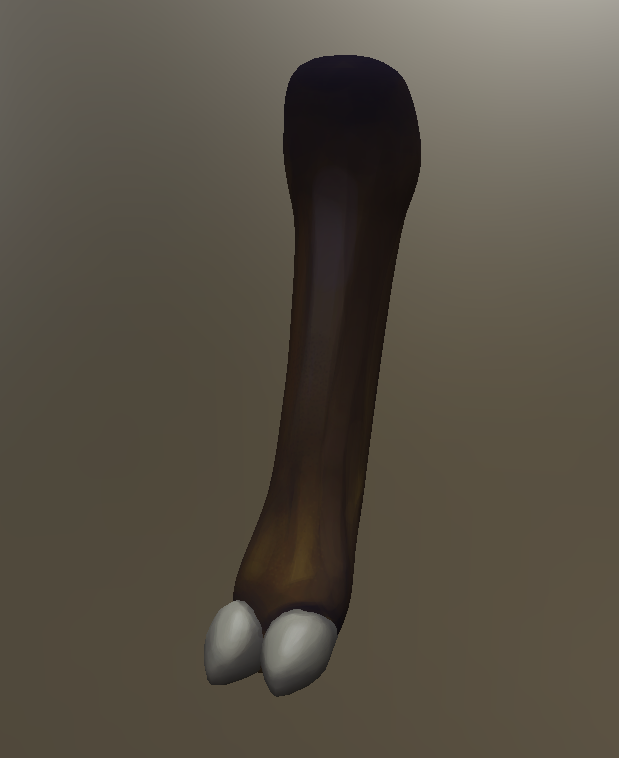
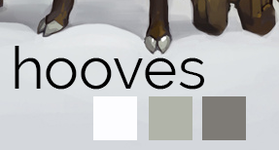
Once the Blockout is completed and placed into Unreal Engine, I then began finding references to help me with proper topology for rigging the hands and legs, making it able to bend properly without pinching and warping. Here are my reference pictures I found and used: So first I started to quad draw and retopologizing the leg and once finished I then rigged it to see if it would work. It seemed to work very well because there wont be too much movement in the leg but the topology is important not only for the model but to help me learn how to topologize for rigging since it was something we haven't really touched on.
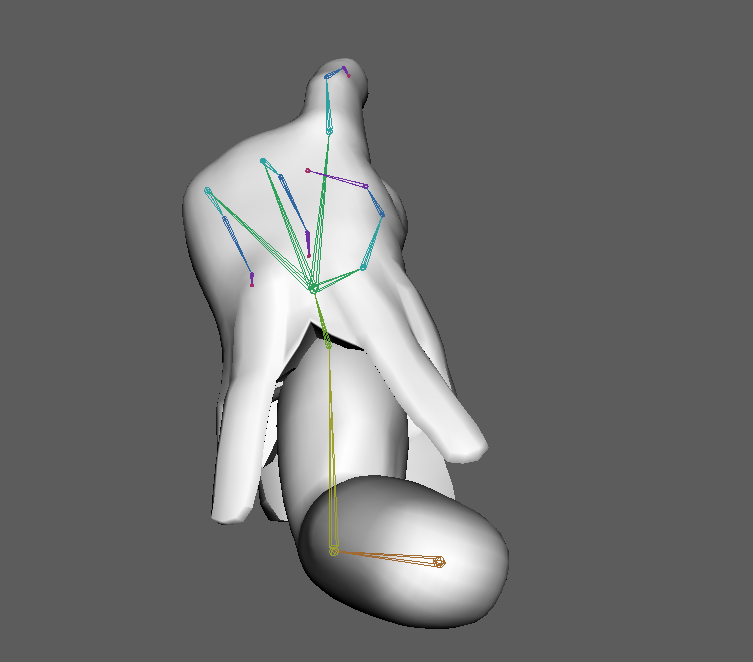
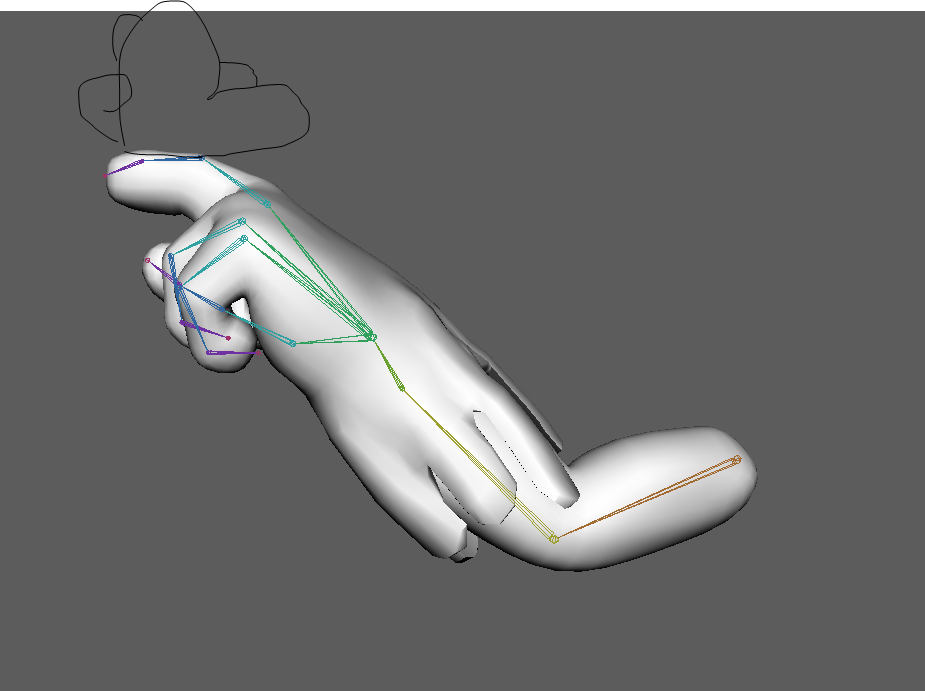
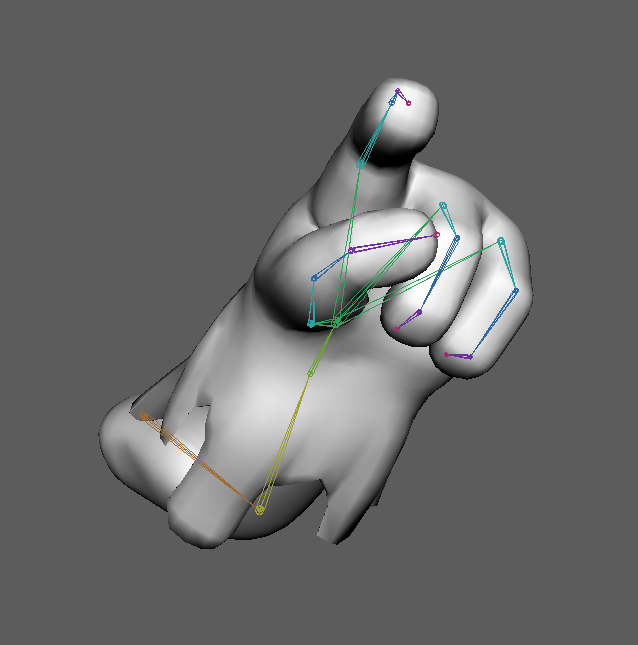
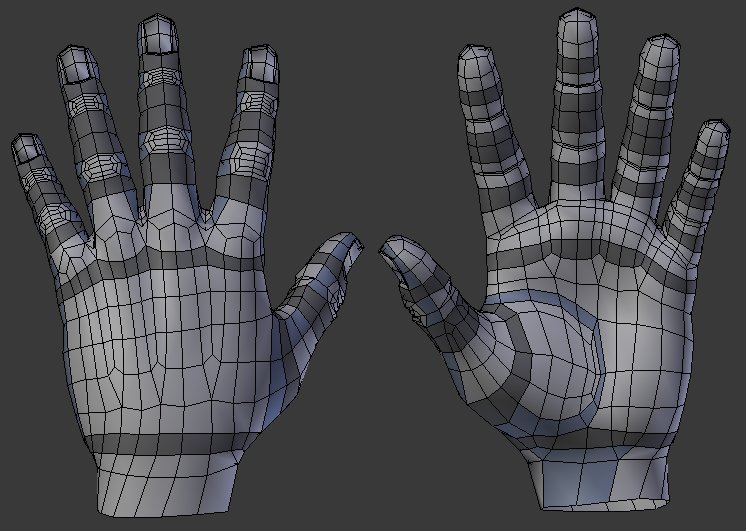
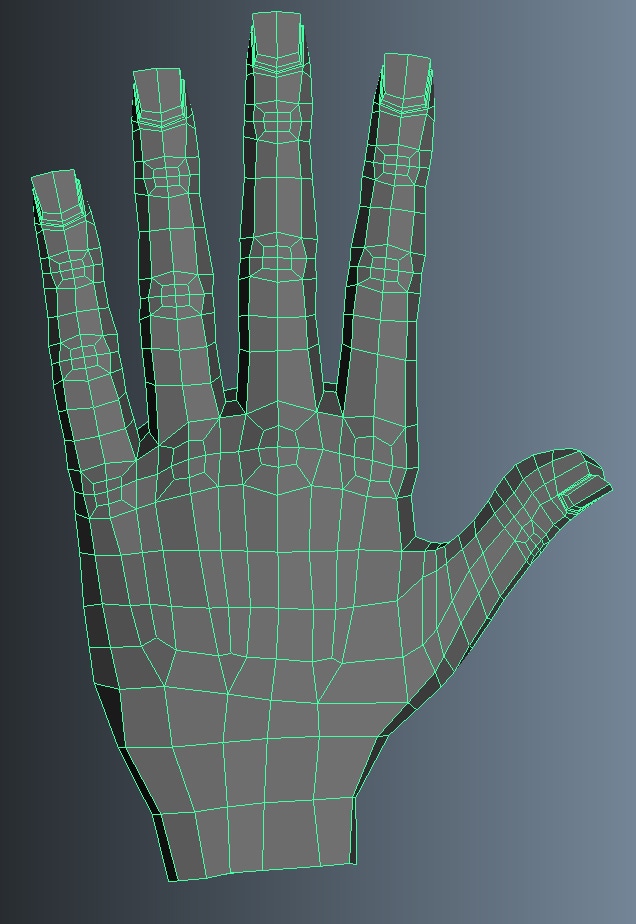
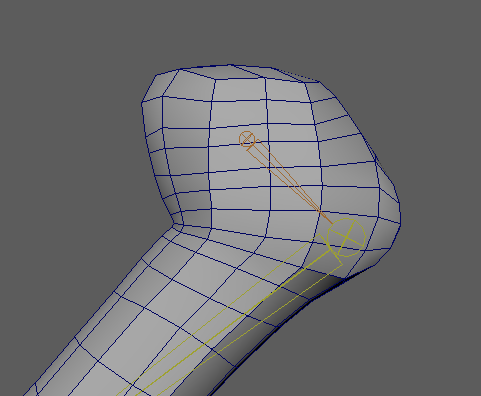
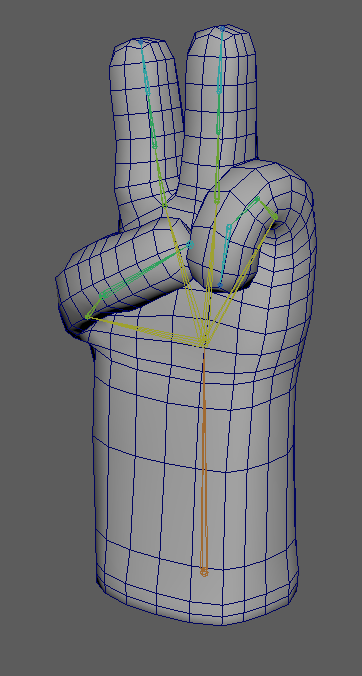
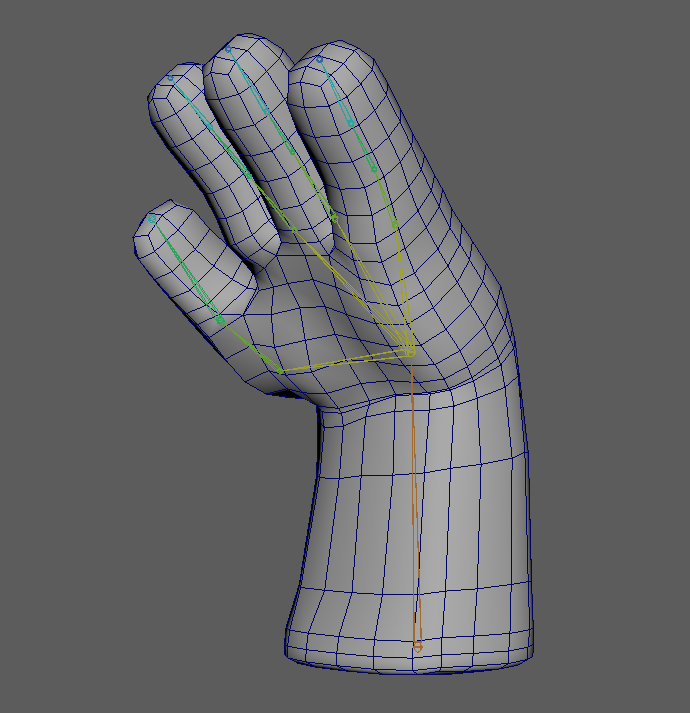
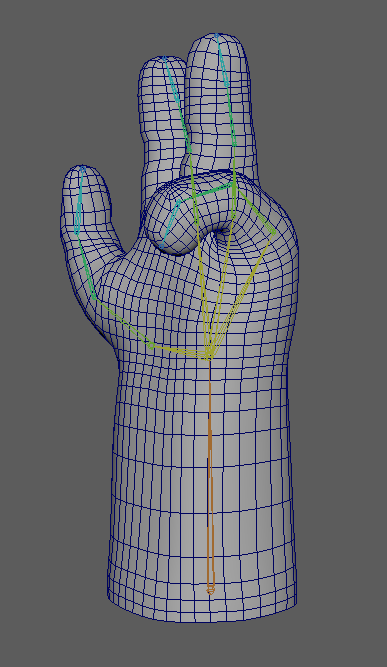
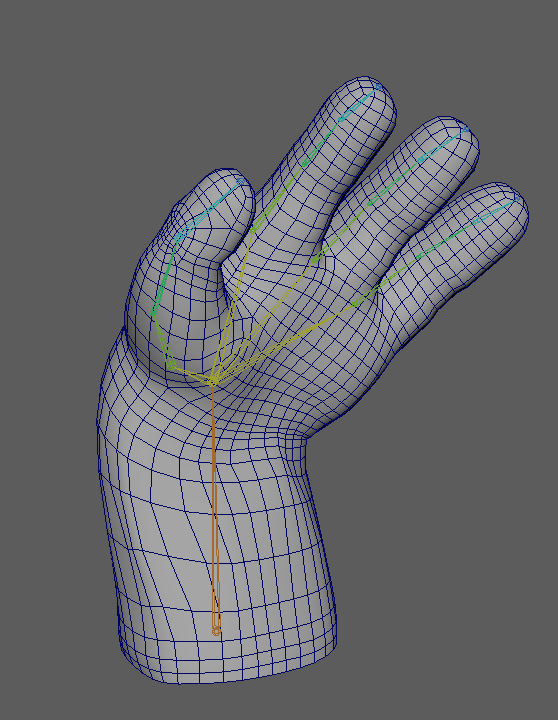
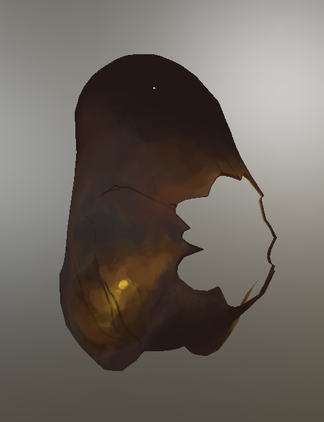
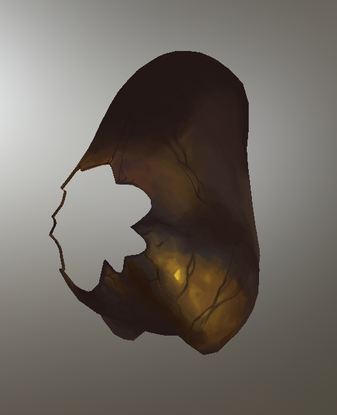
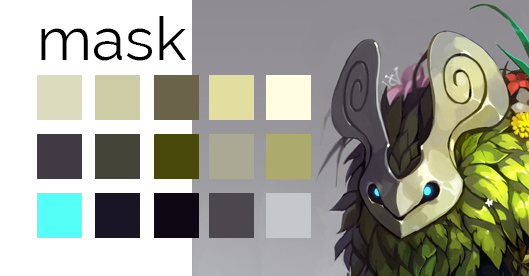
Once I modeled the leg I then moved to the blocked out hand, making it high poly and retopologizing it properly. I first completely remade the hand in lowpoly just to get a more correct shape then making it a little more highpoly. I then rigged that just to see how it would function. The first version the fingers bent more like a sausage and not bending properly like fingers do. I then retopologized his hand by using the many references I found and shaping the fingers a little. Rigging that version worked a lot better with the fingers. 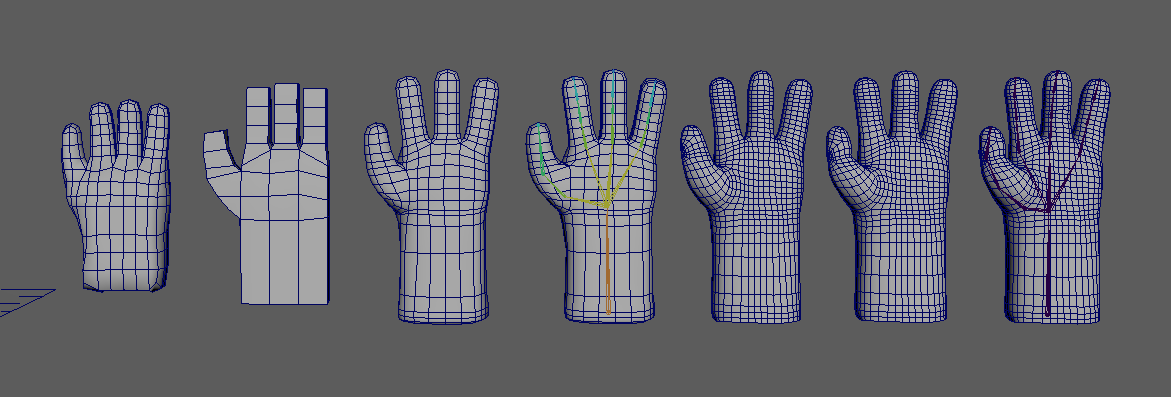 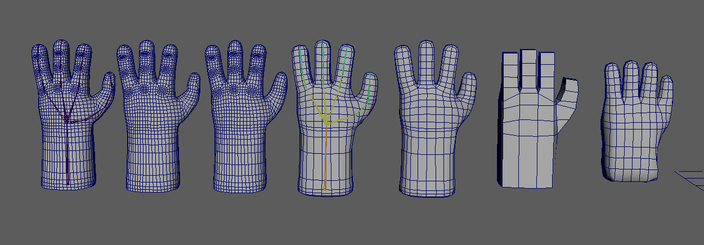 Below are my text rigs, the top two hand poses are the first version without the retopo on the back of the fingers and the fingers aren't very good but the wrist looked very good where as the bottom two pictures which are retopoed the fingers bend a lot better where as the wrist is now too warpy. I will need to fix that whether it is weight painting or changing the topology. Of course also to complete more of my vertical slice, I fully modeled and uv'd the body, legs, mask and sphere. Moving on now, I began texturing in 3DCoat. Now the reason I chose 3DCoat and not Substance Painter is because this piece is so nicely hand painted I want to be able to paint on the mesh, on the UV's and in Photoshop and 3DCoat was the option that allowed me to do all three without much difficulty. 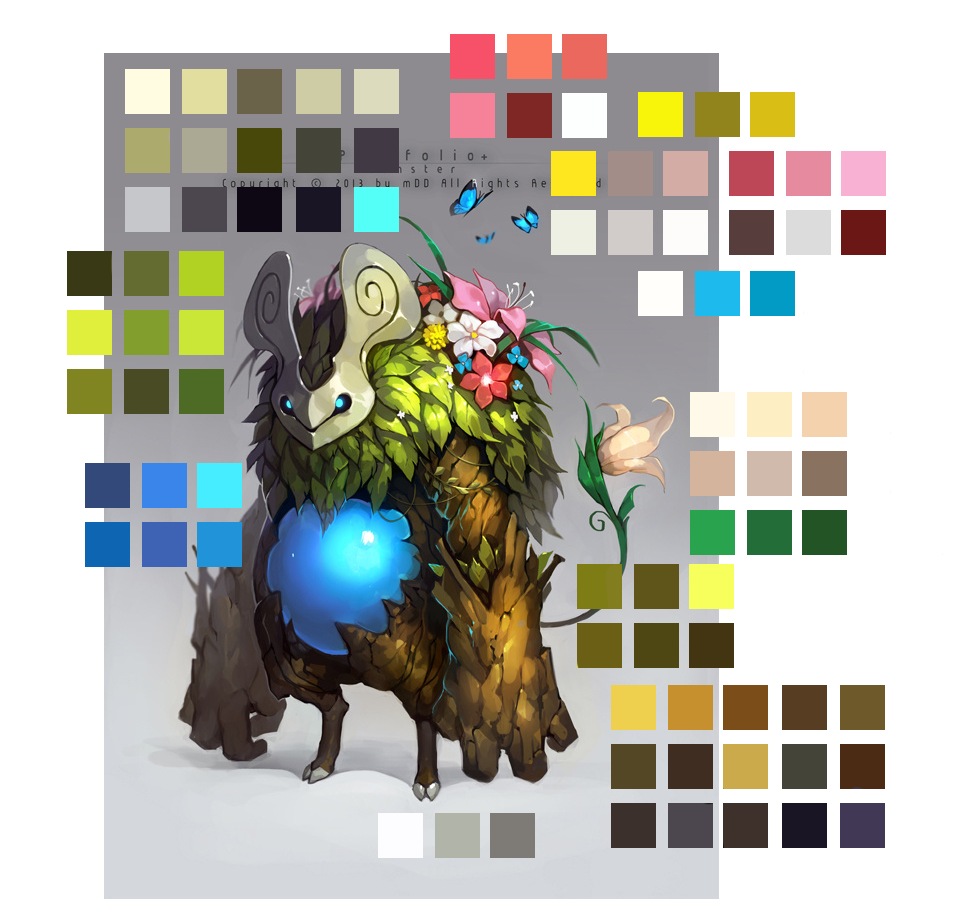 Getting the hang of the controls it took me a while to figure out how I want to paint this piece. I talked with John to see if I should bake my lighting in or not. The final decision was not to therefore I began to paint with only some shadows that would be there most likely no matter the lighting. I painted the leg first to get into the groove and then moved onto the mask.
Using the colours and patterns in the original concept I tried to replicate what I could. Of course the body and mask aren't completely done, just showing my work in progress so far. Finally something else I need to have figured out for vertical slice is my lighting and post processing in Unreal. Basing my lighting on this reference picture below I got it close to what I want however I want the scene to be darker because the lighting is going to be mostly from the creatures sphere and eyes, as well as the butterflies. 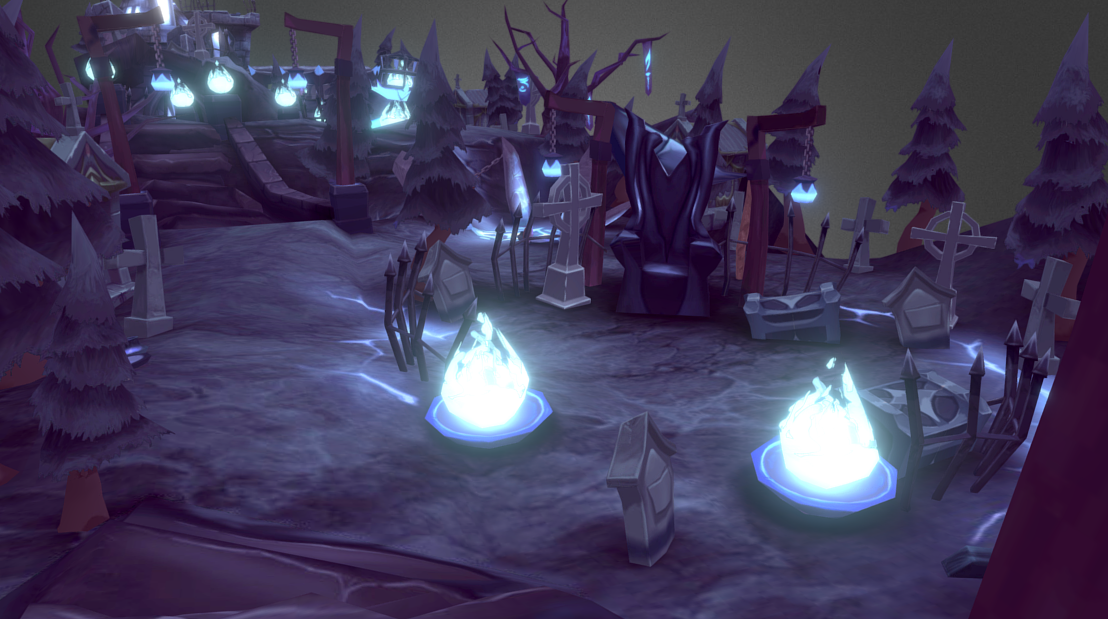 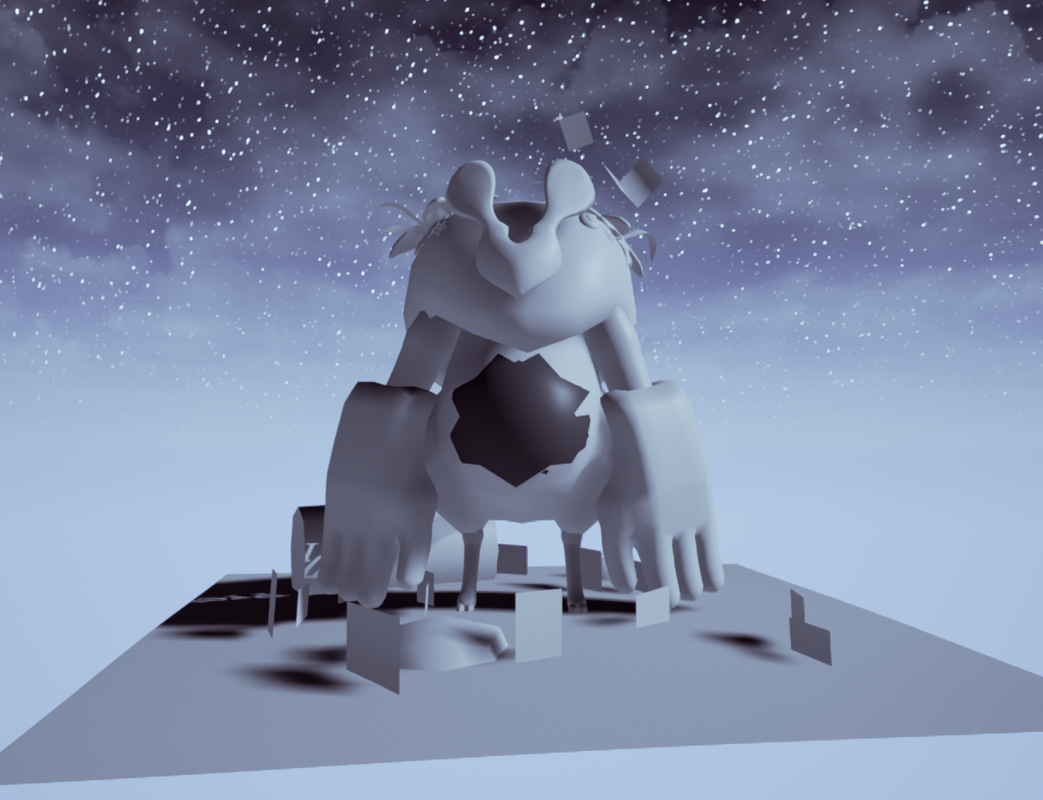 That is what I have done so far in the past two weeks as well as trying to juggle my P1 project too. I'm slightly behind but I have this weekend for catch up but I'm doing pretty well.
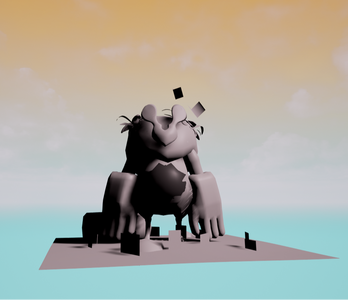
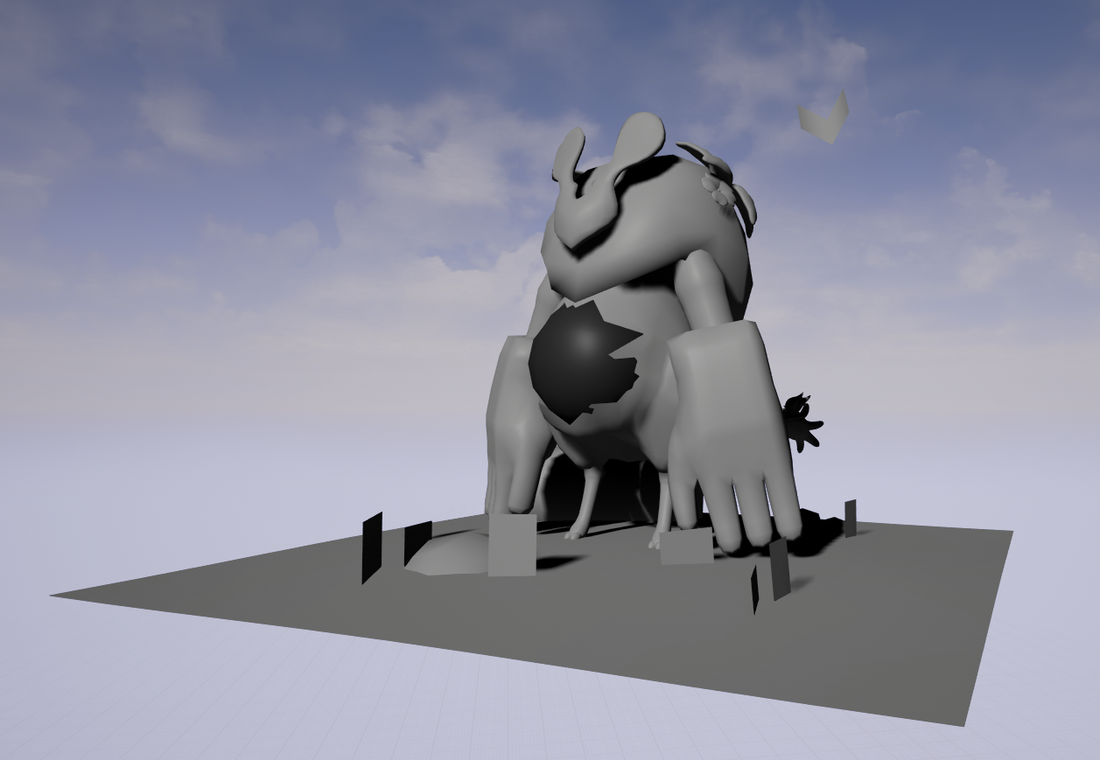
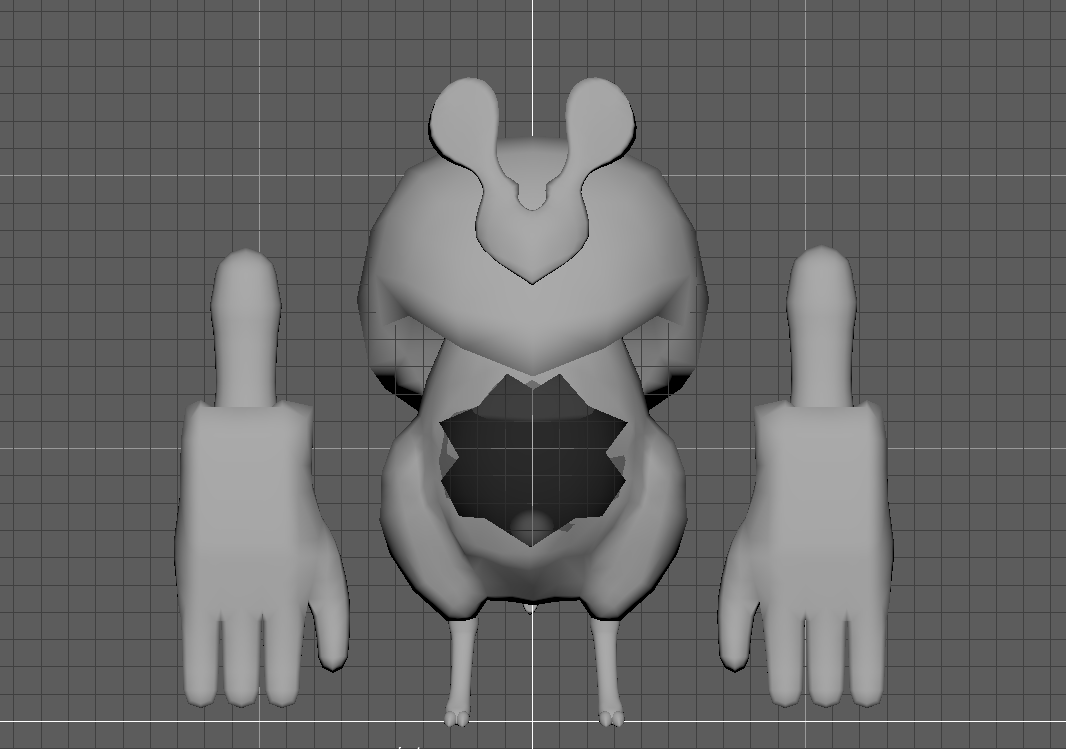
After getting the base block outs for my creature I then imported and set the separate pieces up in Unreal. Obviously the body will be one piece once I rig it, but for now it's just to get the feel and to have things in unreal for the Framework which is due soon. I'm pretty happy with the way it's blocking out so far. Of course, because some of the pieces are separate such as the flowers on the back of him it is much harder to set up in unreal but when I re-import him with a rig it won't be a problem. 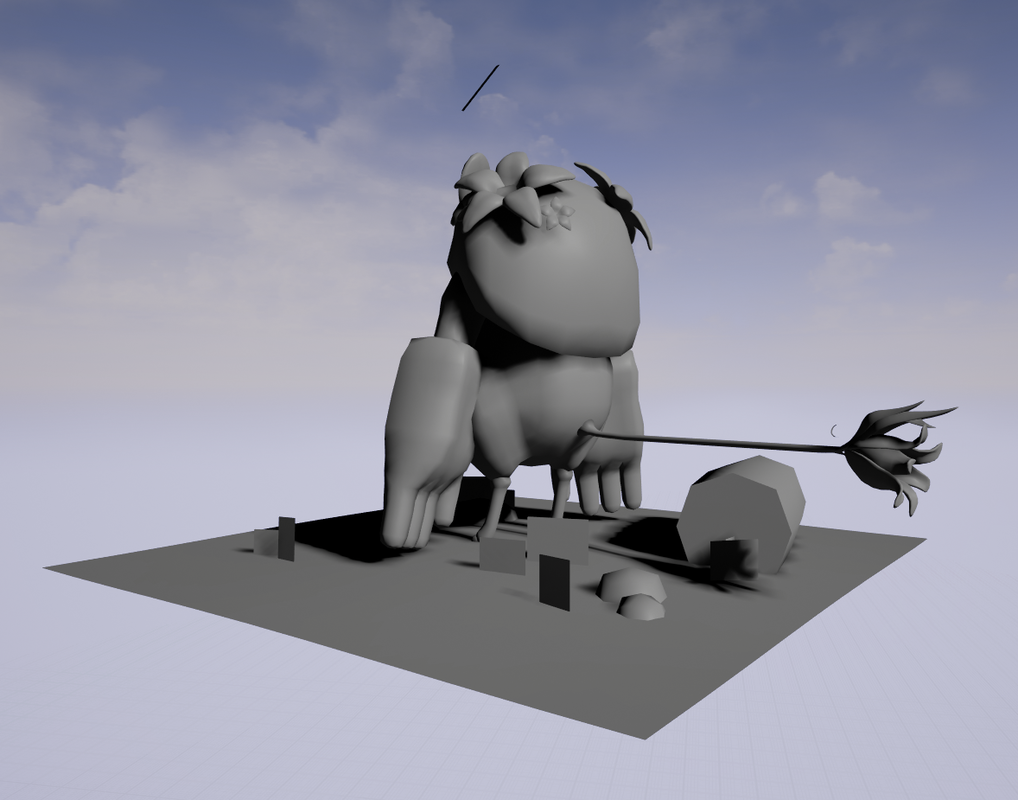
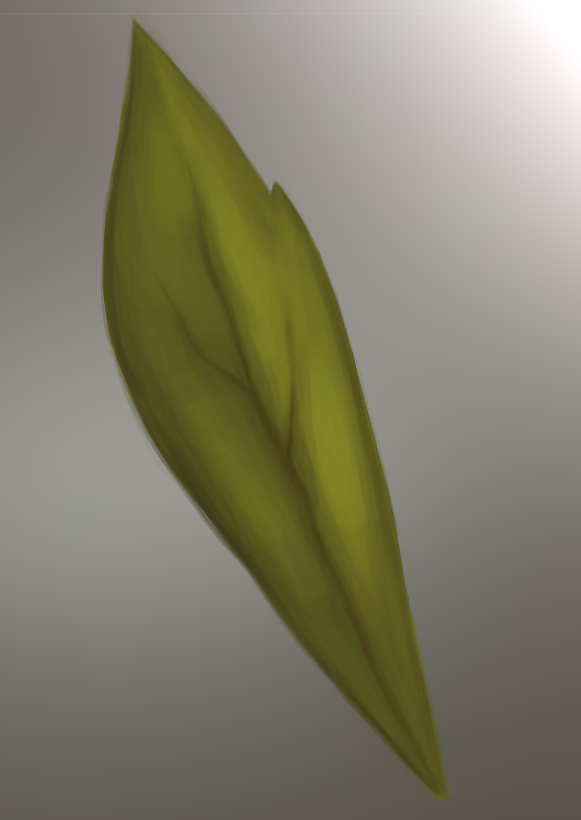
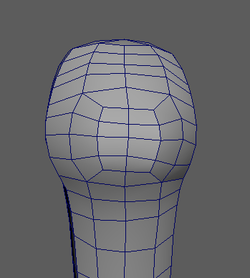
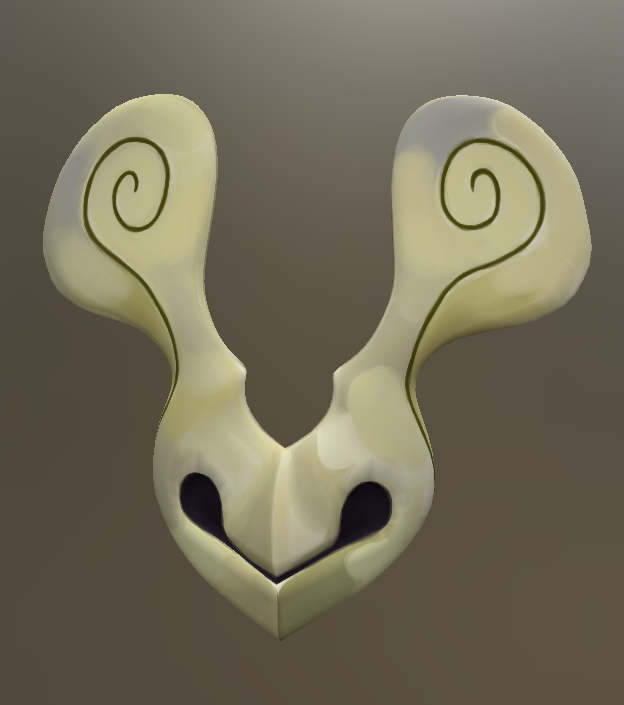
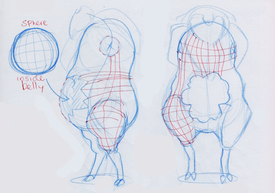
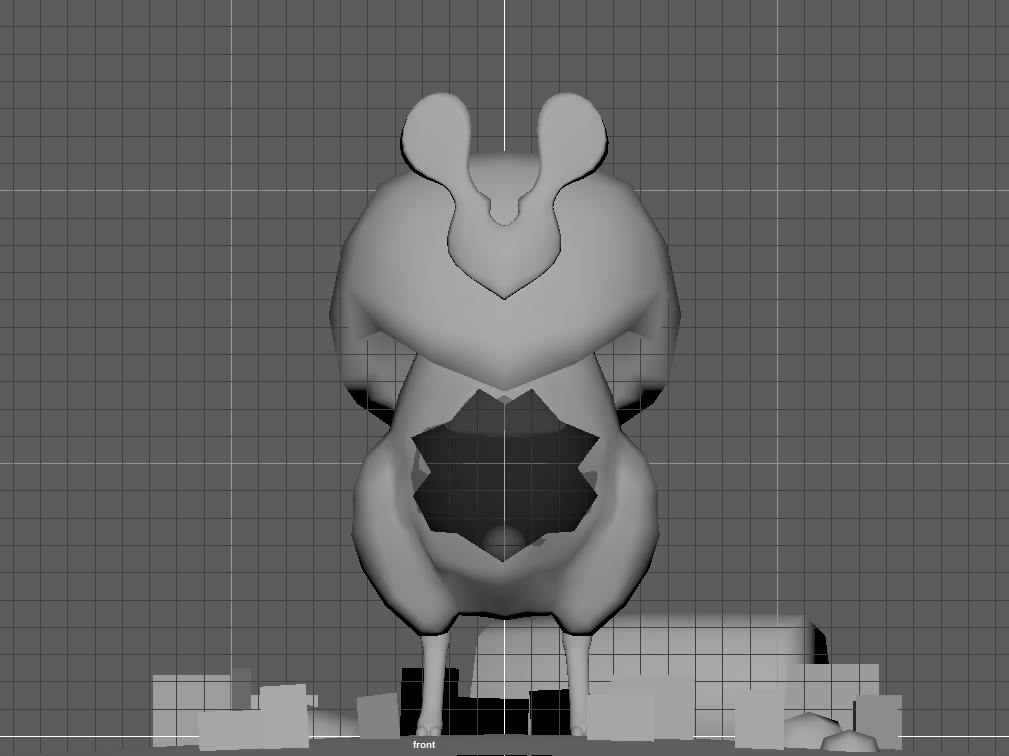
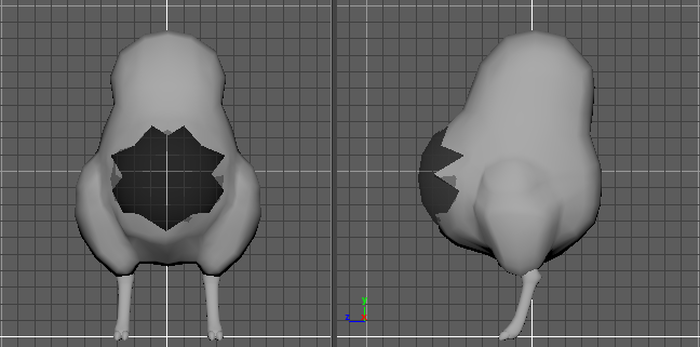 After getting the shape of the body down I then began the shape of the face mask as well as getting the silhouette and shape of the leaf mane while giving enough room for a spot for the arms. I plan on cutting the eyes and mouth out of the mask but right now I just wanted to get the basic shape down.
I then began on the arms. Mostly just doing the block out, not worrying too much about the wood pieces just yet, again just mostly trying to figure out size and shape. I think they will need more work but that is when I start modeling. As well as the arms, they may need to be thicker however there is some concern with keeping silhouette while not having his arms clip in his body.
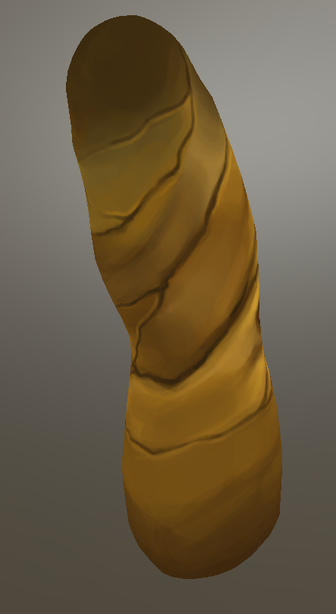
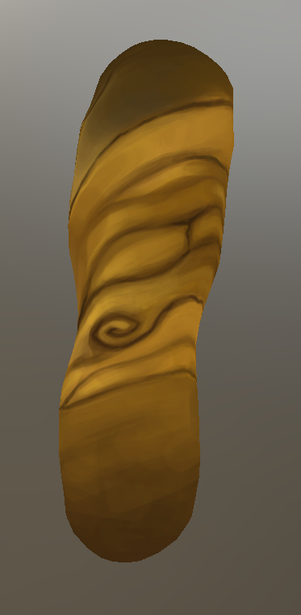
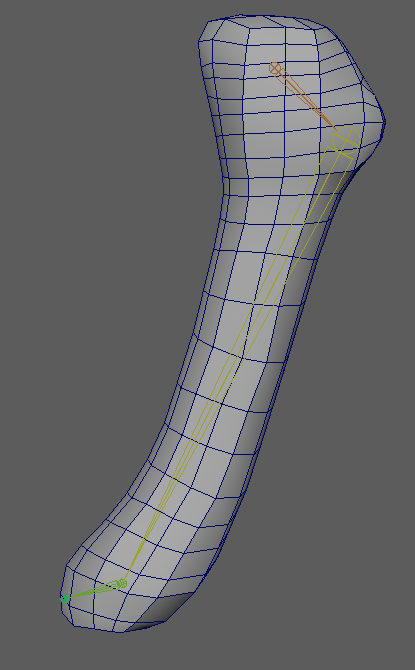
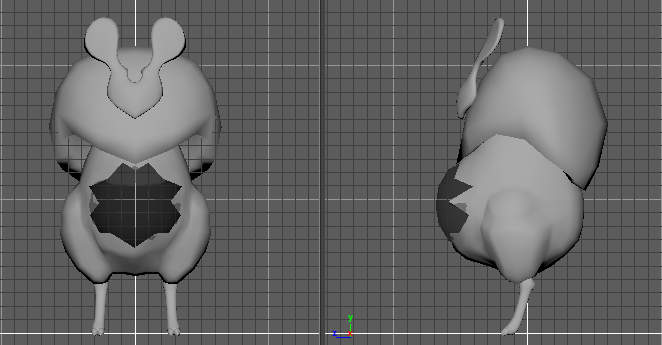
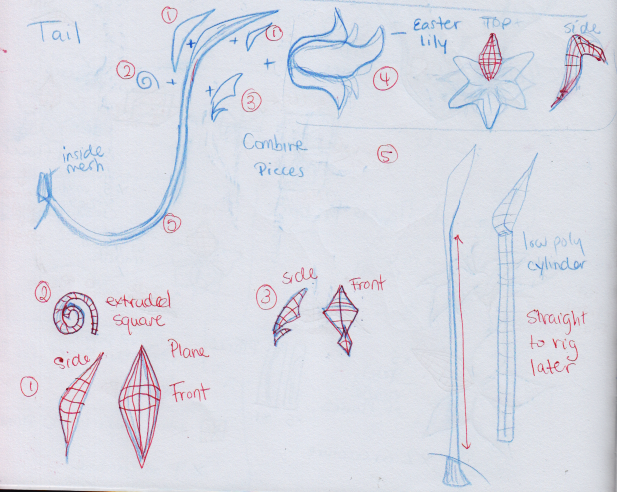 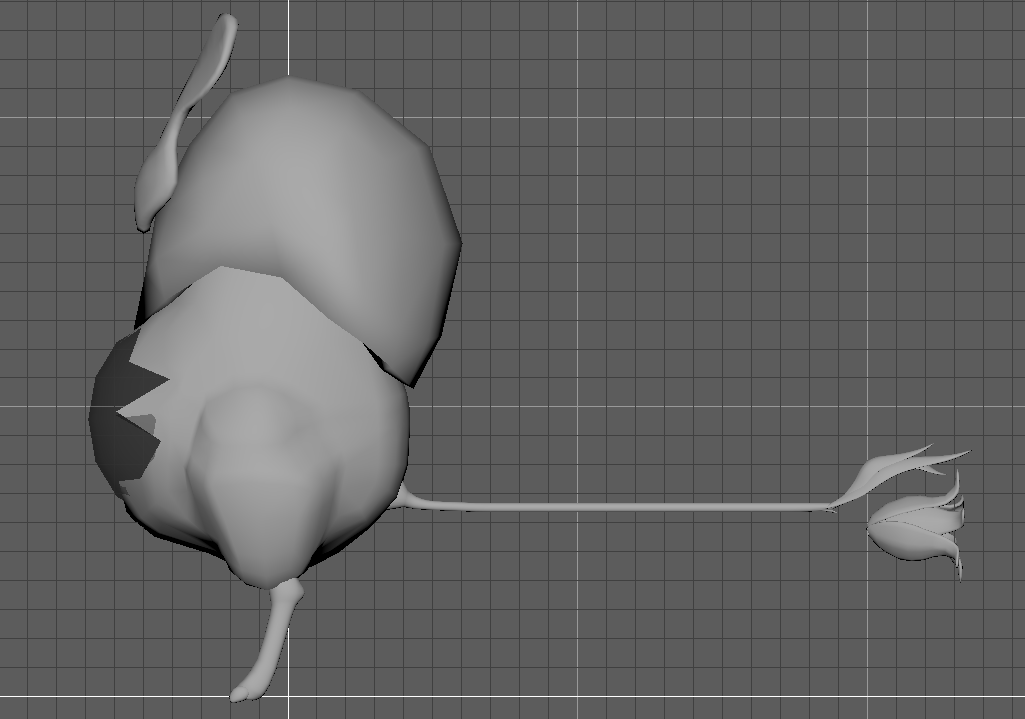 Once the hands were down I started modelling the tail, in a straight pose so it is easier to rig. I plan on retopologizing all my models as well once they are no longer in the blockout stage to topologize it for rigging so things bend properly.
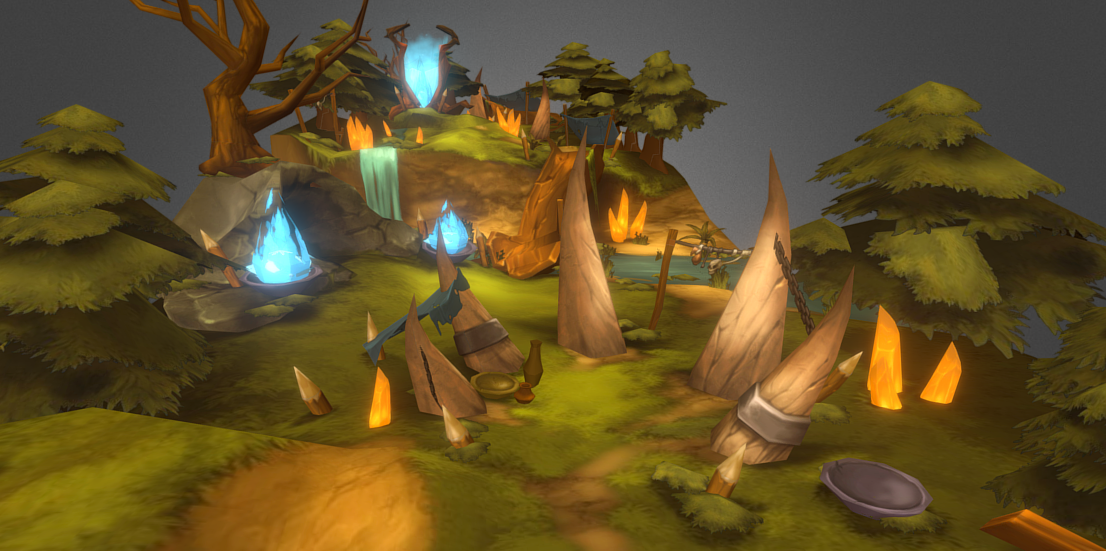
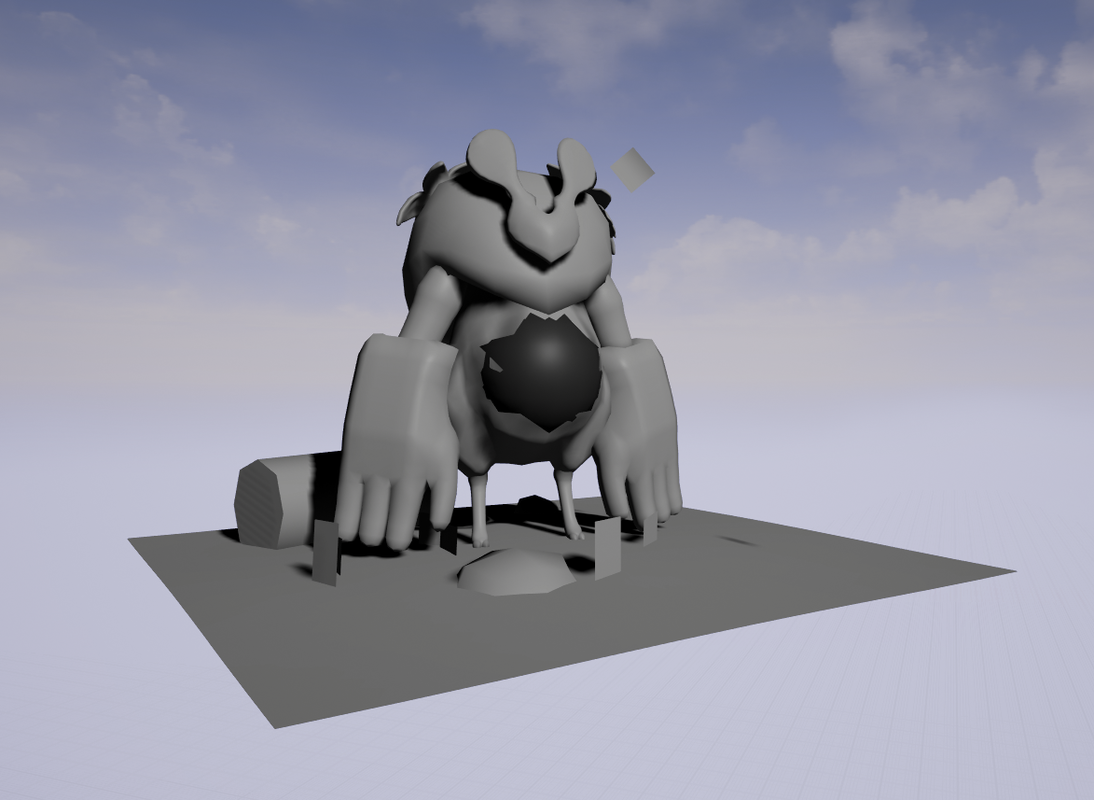
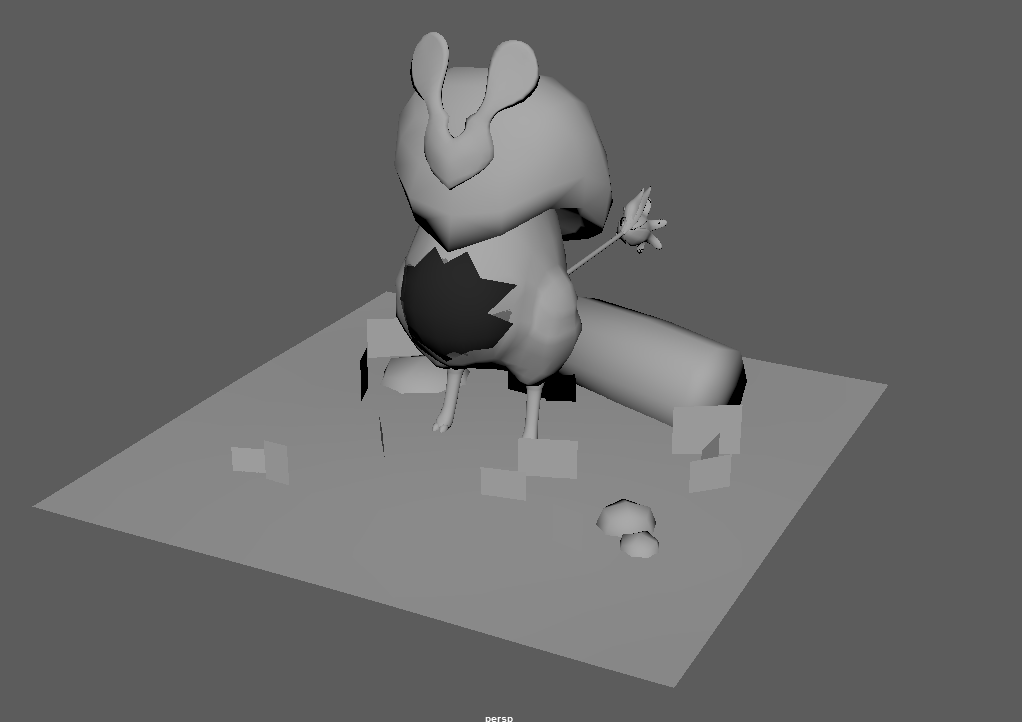
After I blocked out the character I also began placing planes to try and feel out what looks good compositionally all around not just front and side view. Also debating on whether I want to add a fallen log for the character to sit on, I don't want it to become overbearing and crowding. This is still a work in progress and I plan on when texturing the plane platform it will fade to transparency so it wont be as awkwardly square. 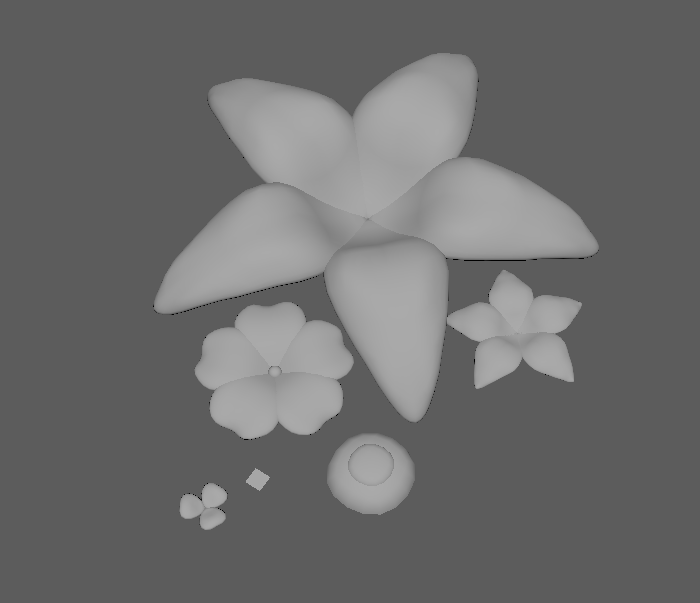 Finally I began to model the flowers that are sprouting on top of the mane. Haven't placed them ontop yet but just blocking out and getting the shapes and size. So far everything is going well, I'm on time with my planner so far, going to start bringing things into Unreal to get everything set up, and will start focusing down on highpoly modelling.
|

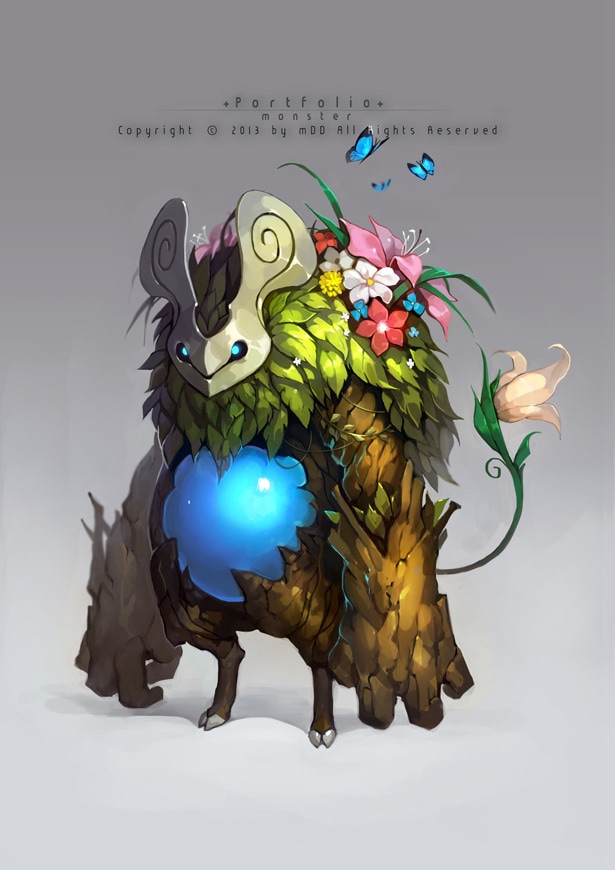
Original Concept by MDD
|


 RSS Feed
