|
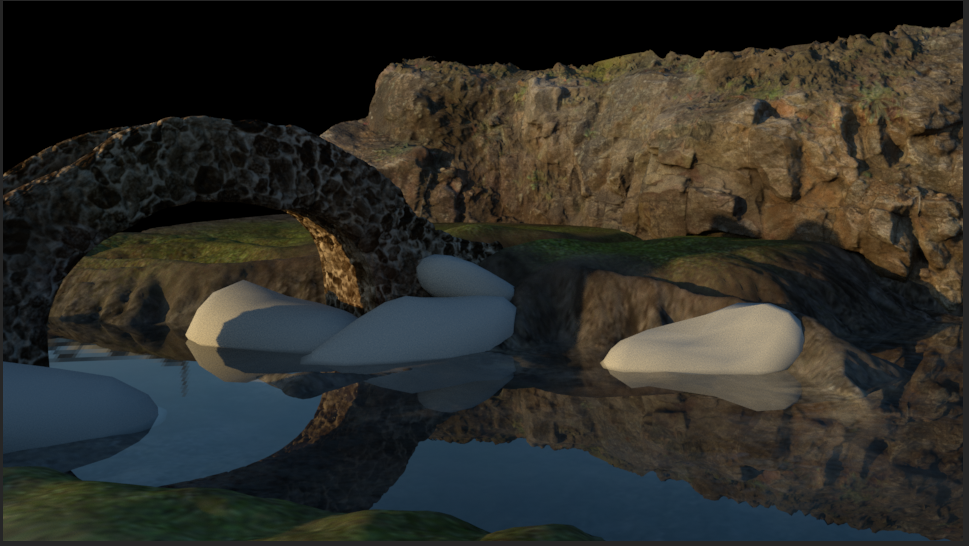
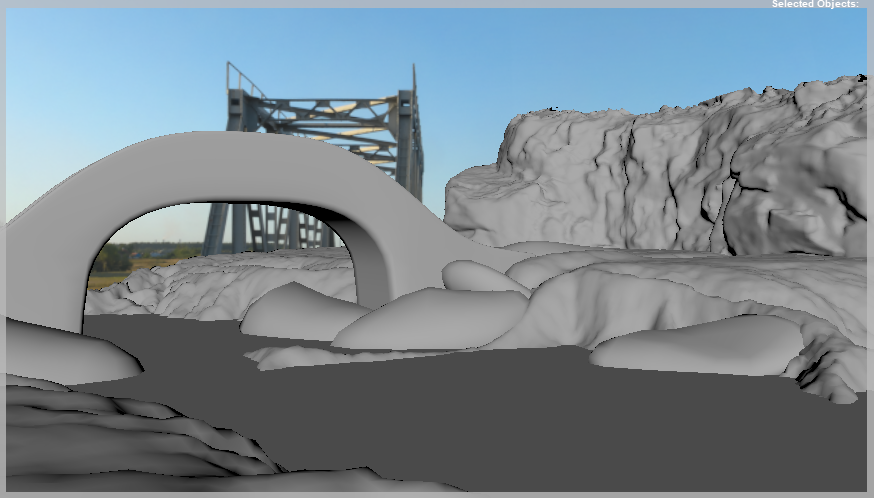
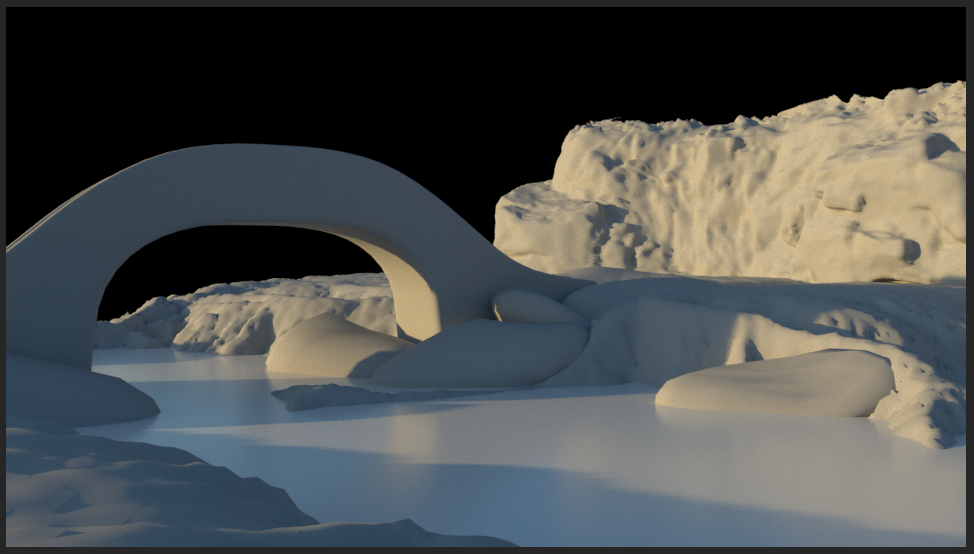
After changing the bridge texture I'm a lot happier with how it was turning out and things began to move fairly smoothly. The only thing I seem to continue to struggle with is lack of detail in the textures along with setting up a displacement map that works properly. Now, with a bit of a camera move I am ready to render before bringing into Nuke.
0 Comments
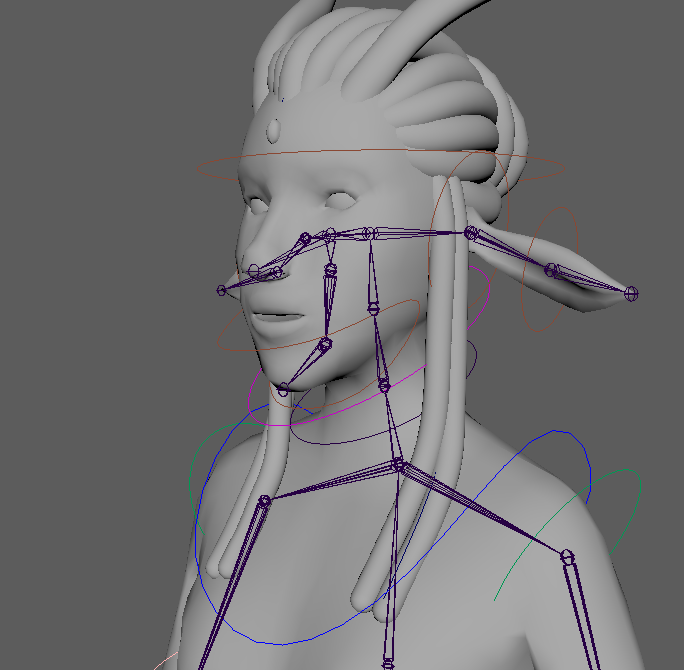
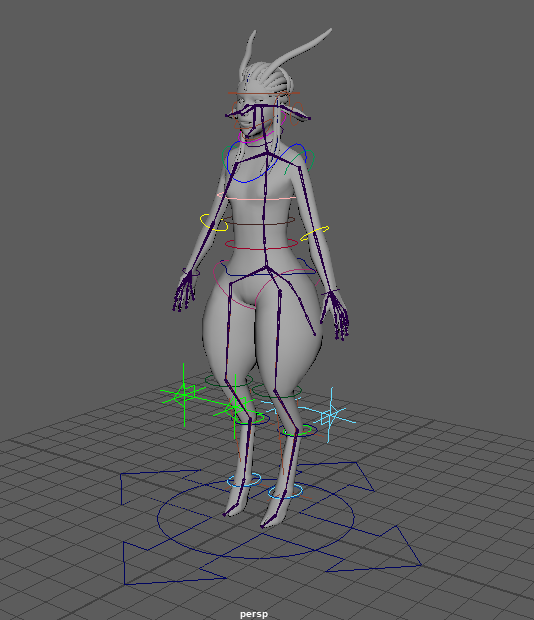
Slowly we're getting the textures and zbrush normal map/low resolution maps down. It's a little difficult to make my zbrush high resolution models how I want without a tablet and the fact my computer can't handle too many polys but we're getting there. 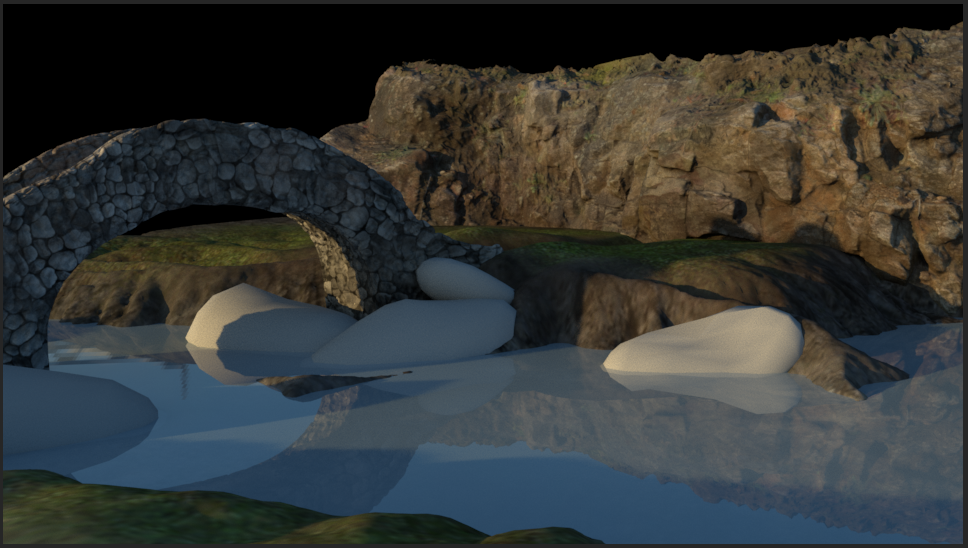 I knew that rigging the character was going to be complicated but I forgot just how much. There are so many little things that you have to remember and repeat hundreds of times and if you forget one tiny little detail then your entire rig is busted. I managed to get the FK rig made and now I'm working on the IK which would be easier if my character rig was a regular human. Because she's a faun creature with animal legs I can't just give her the simple IK leg rig because she has more joints. I ended up giving her two and connecting one to the other in hopes that would work but I'm not too sure. Next is hopefully binding the rig to the mesh followed by the another painstakingly slow task which is weight painting.
After setting up two different sets and camera movements it was time to render, making four different render layers however because of the quarantine I'm forced to use my home PC. To test and see how well my computer would be with rendering I first just rendered the Car_Beauty layer which took almost 3 days. So right now I've just been trying to set up the extra elements I want to include in Nuke such as rolling fog and mist, as well as turning the scene into 3D so I can place the fog closer in front as well as in the back without having to roto. 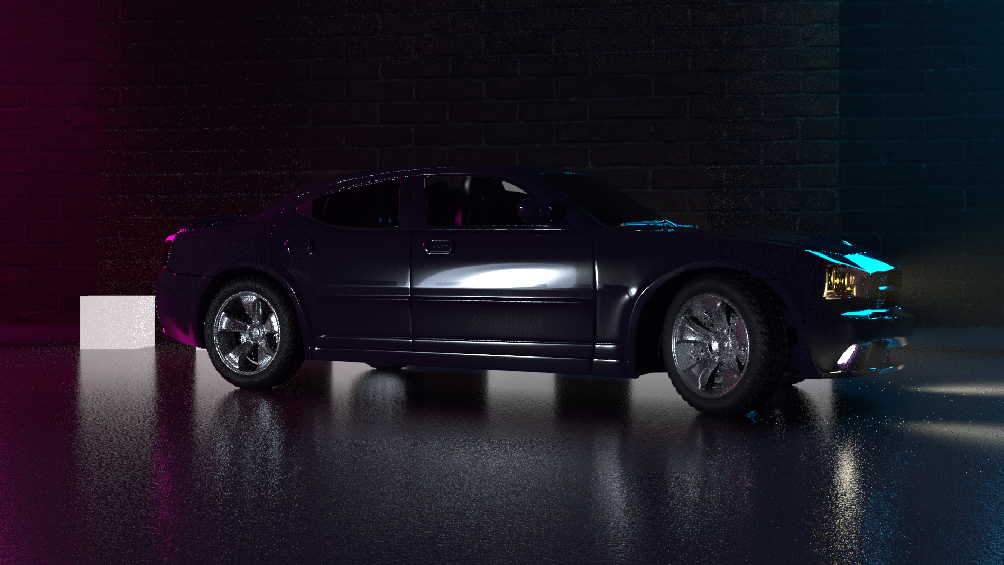 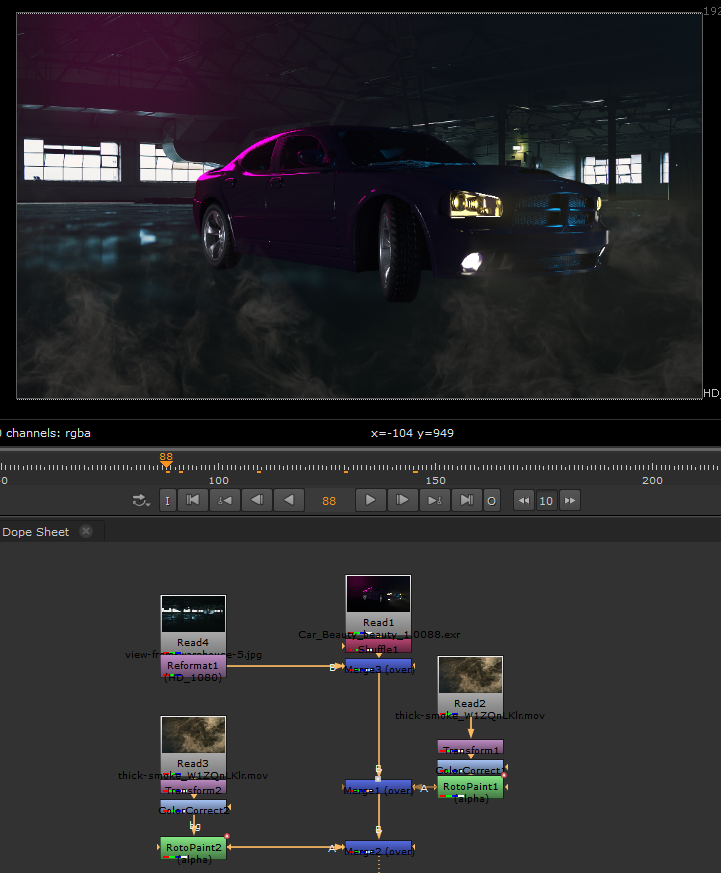 I may end up having to change my plan or use the background I have in the nuke image right now because I don't think I will have time to render the background I made in Maya in time. I still plan on finishing the project properly when I have time between semesters anyways but the pandemic has thrown things off a little.
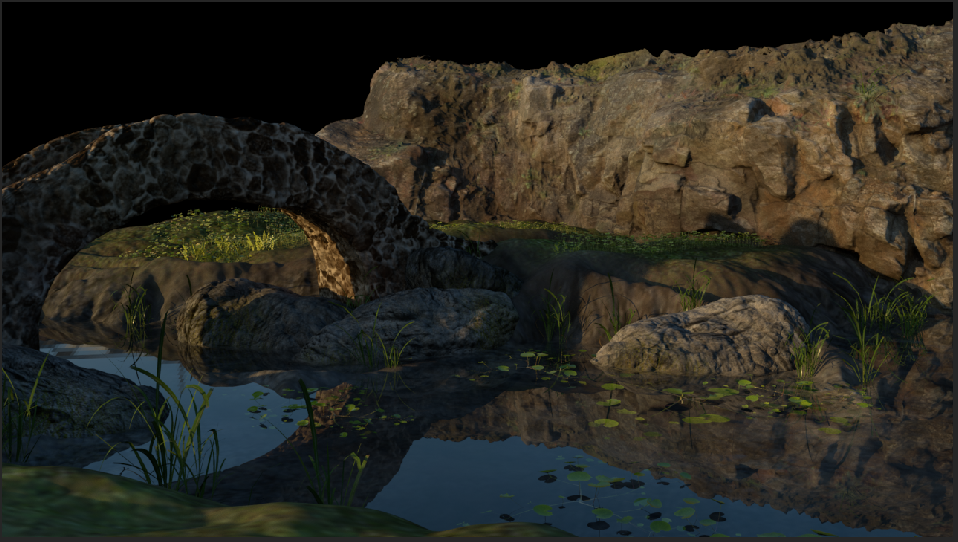
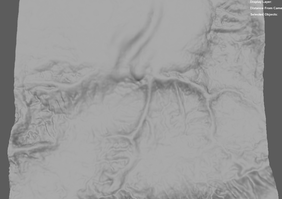
The project is to create our own environment and how we were shown to do so was using a deform texture map where we were to find a height map online and tweak it to make our own kind of terrain. Below is the process I took and the rough set up and lighting, both in Maya and a quick Arnold render.
The next step I'm planning on bringing the bridge into Zbrush to give more detail and definition before I texture the rest of the scene.
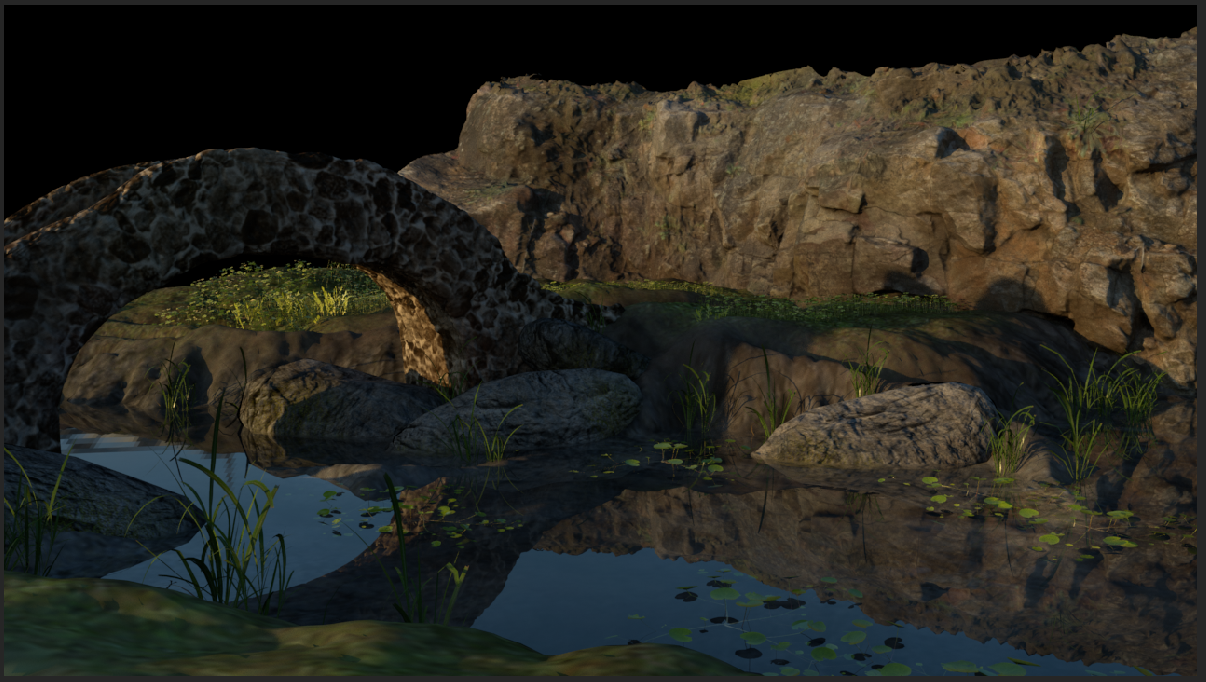
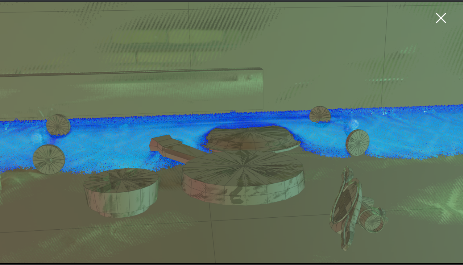
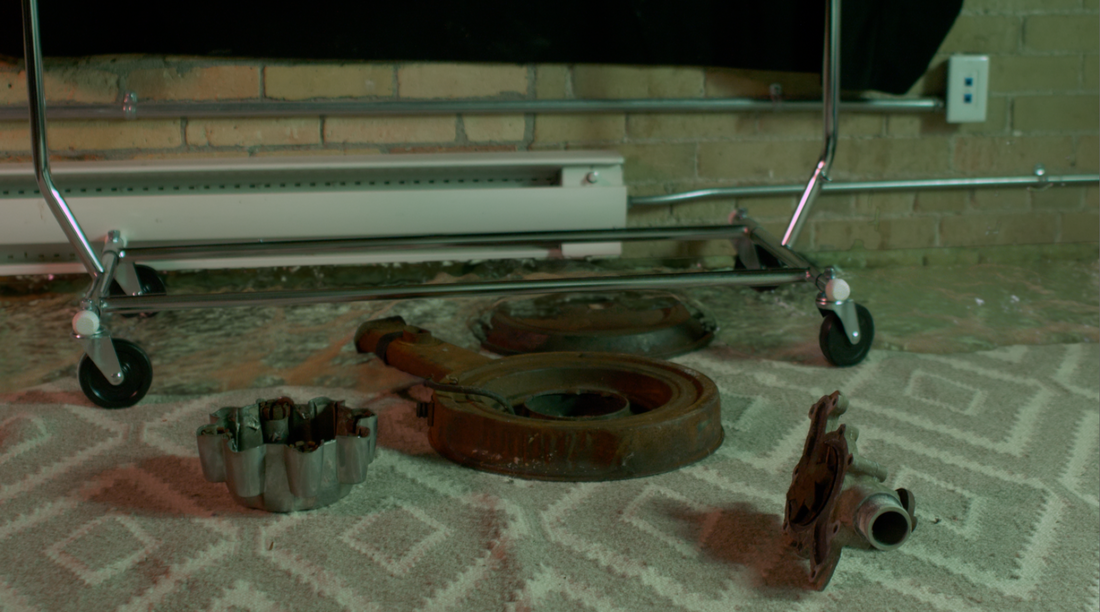
After a lot of trial and error, fiddling with settings to try and get the type of water I got I think it turned out pretty good! We unfortunately had to scrap the panning shot mostly because it took too long to get the camera to line up properly. Thus, in the end it was two separate shots.
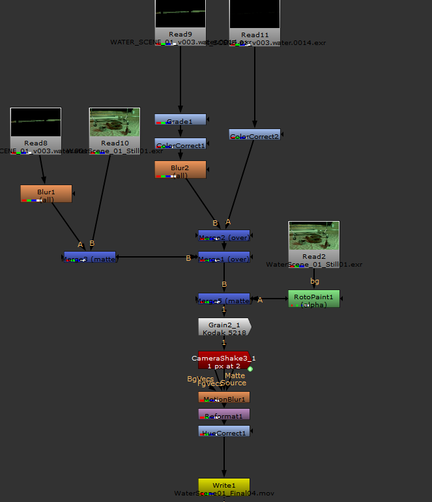
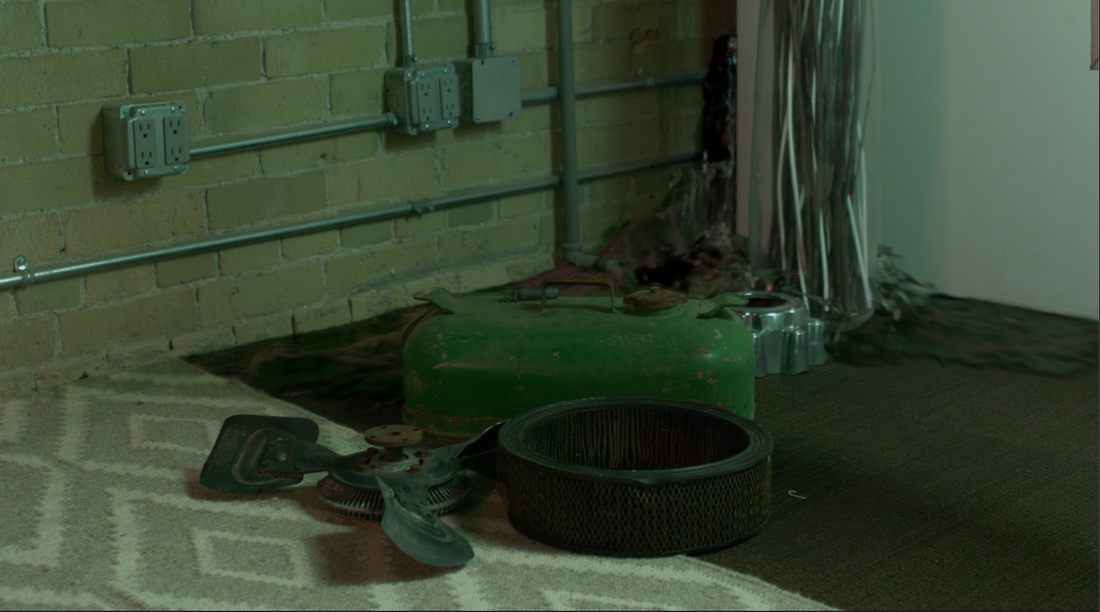
Once I lined up my Maya camera in Houdini and fixed the settings (I not only had to project the image in two different spots but I also had to add a node that would make the model a higher poly which for some reason was why it wasn't lined up enough) it was just figuring out how much viscosity i should add to have the water act like it would in real life but not too much that would make it appear as if it was honey. Then it was the long grueling wait for Houdini to render. I had rendered a test before that and used that to practice and see what kind of nodes I would need to composite my water into the scene in Nuke which was a good idea because after the long wait for rendering it took no time at all after to get something I was happy with and had everything pretty much already set up. With a bit of colour correcting I managed to get it matching the scene pretty well, adding another layer underneath the first render to make it look as if it was actually travelling and interacting with the carpet (giving it a bit of a shadow) and some clean up rotos for any pieces the water accidentally washed over.
|
Archives |
 RSS Feed
